Jump to content


Photo

Babbitt bearings part III; see how they are poured


  • Please log in to reply
5 replies to this topic

#1 THead

THead
  • Member

  • 108 posts
  • Joined: March 10

Posted 09 May 2012 - 12:42

Posted Image

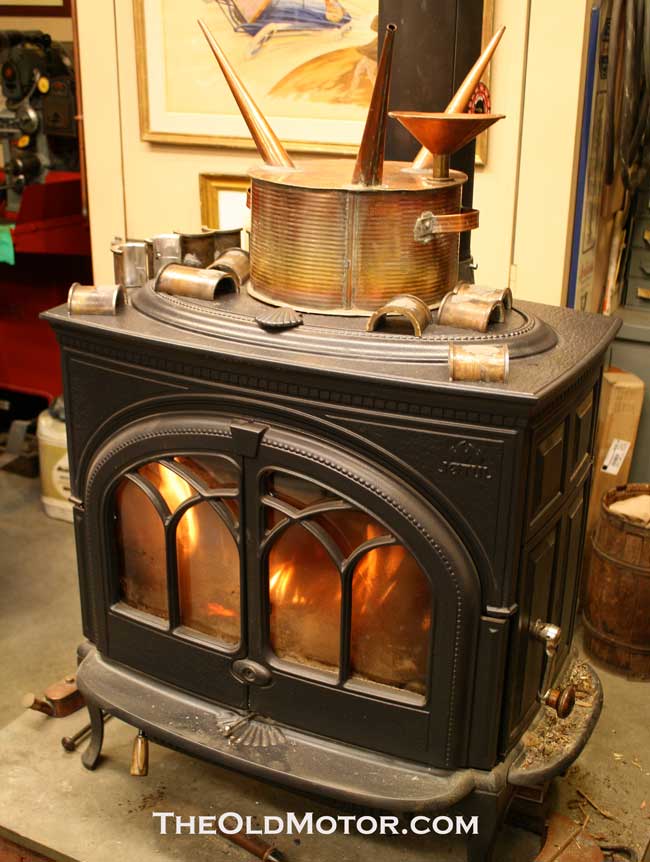
The photo above shows the cement used to plug oil holes drying on the shop wood stove, is one of many in a detailed
post all about how we pour babbitt. You can all learn all about how it is done in a post with multiple photos at The Old Motor.

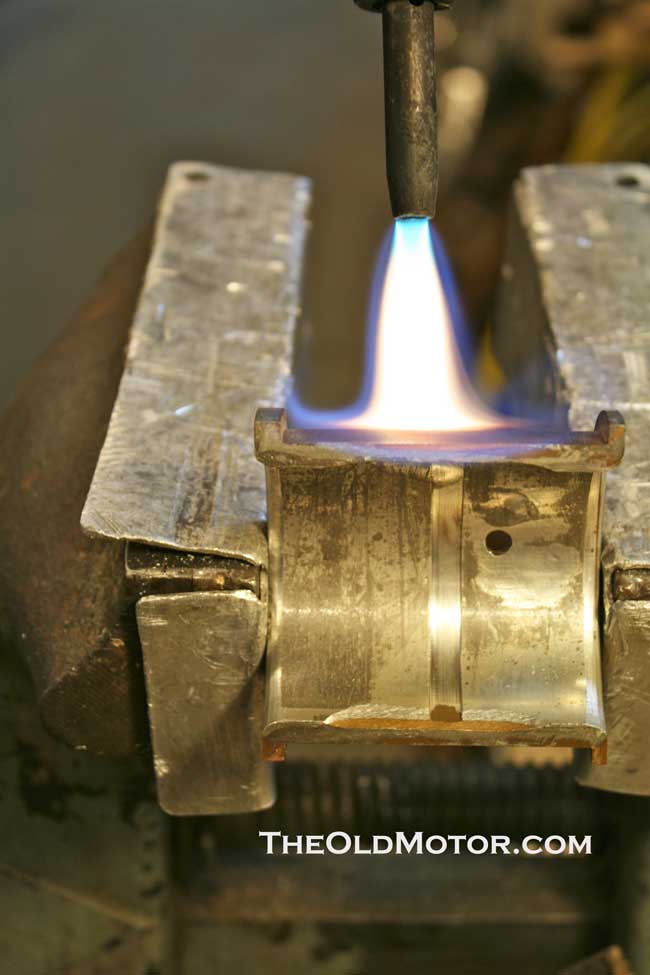
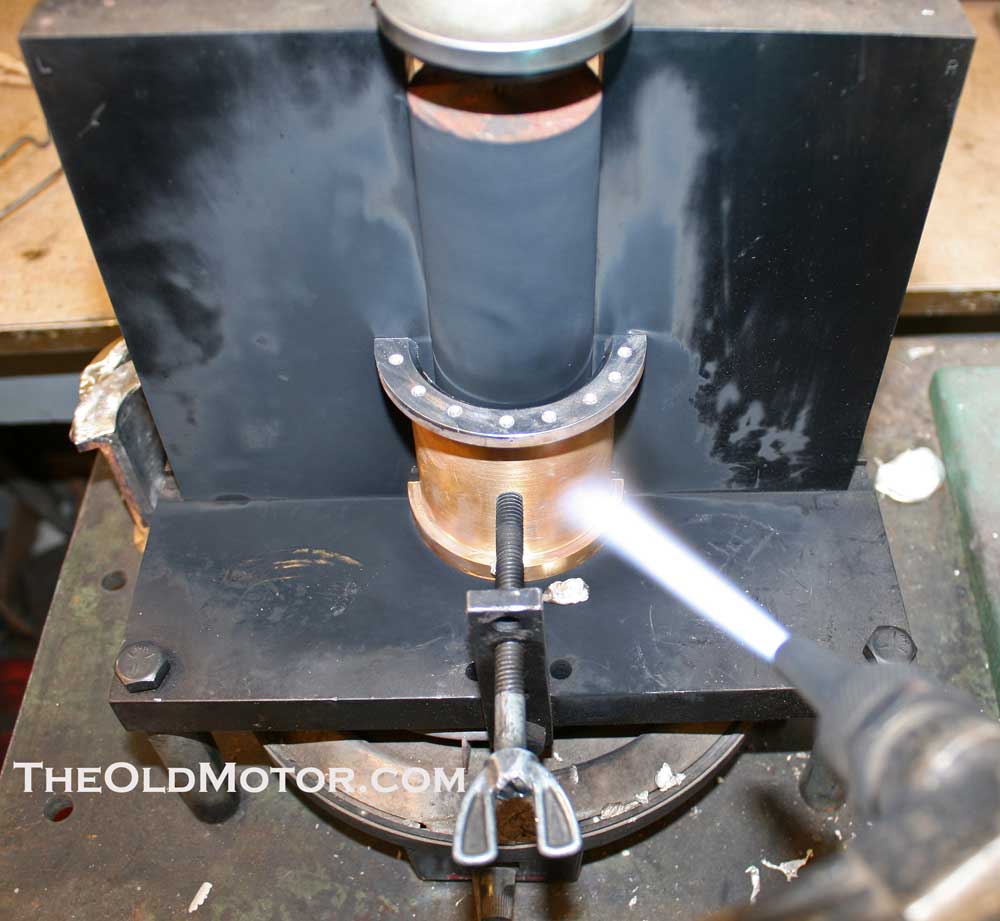
Below is a photo of melting out the old babbitt and at the bottom a new insert in the mould being heated before pouring.

Posted Image

Posted Image

Edited by THead, 09 May 2012 - 12:44.


Advertisement

#2 Twin Window

Twin Window
  • Nostalgia Host

  • 6,611 posts
  • Joined: May 04

Posted 09 May 2012 - 20:26

I shall be merging these bearing threads in a day or so.

#3 packapoo

packapoo
  • Member

  • 731 posts
  • Joined: May 08

Posted 10 May 2012 - 05:14

Thanks Twinny, merge would be great.
This is an extremely interesting thread ro follow.

#4 THead

THead
  • Member

  • 108 posts
  • Joined: March 10

Posted 07 June 2012 - 15:44

Posted Image

We now have part IV of this installment on babbitt bearings up on The Old Motor

Follow the link and stop by and see how we semi-finish the bearing in the bearing sizer below.

Posted Image

#5 Peter Leversedge

Peter Leversedge
  • Member

  • 616 posts
  • Joined: September 06

Posted 08 June 2012 - 03:31

I remember remetaling a bearing straight into a con rod at a night school class in the early 60's.................

#6 CarlRabbidge

CarlRabbidge
  • Member

  • 152 posts
  • Joined: February 10

Posted 09 June 2012 - 05:04

I remember remetaling a bearing straight into a con rod at a night school class in the early 60's.................


We did the same at our night school too, Ford 10 con rods if I remember correctly.

During my apprenticeship we were still doing Fordson van engines on a regular basis and the bearings were remetaled to a semi finished state in our machine shop before we hand finished them to fit the crankshaft. I still have my bearing scraper today, it comes in handy for quite a few things.