Hi all,
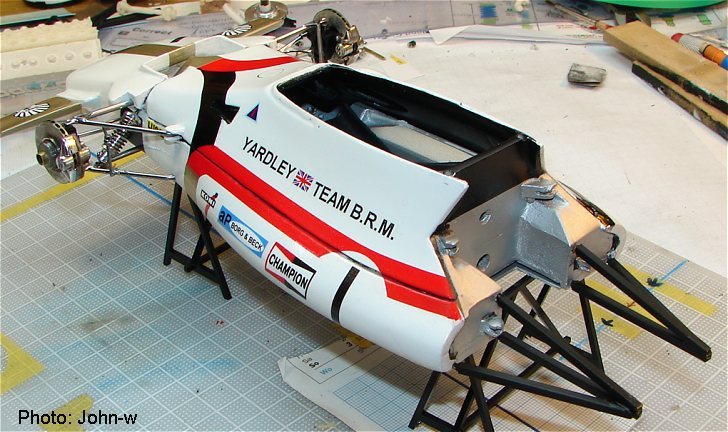
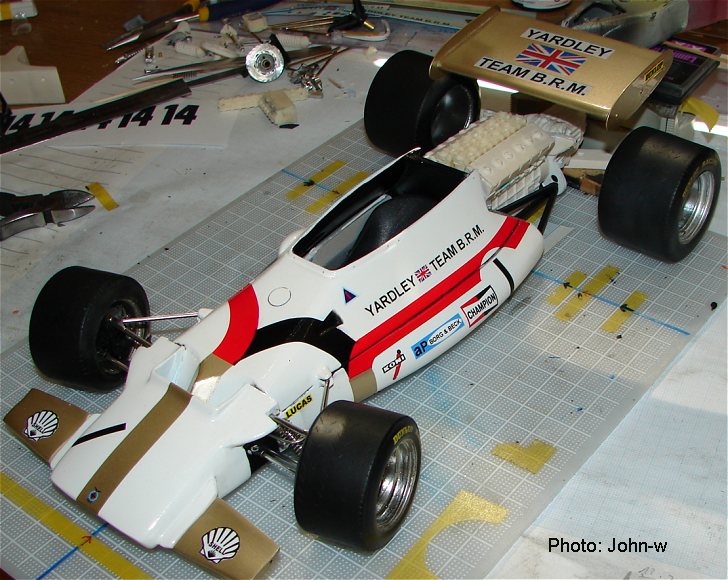
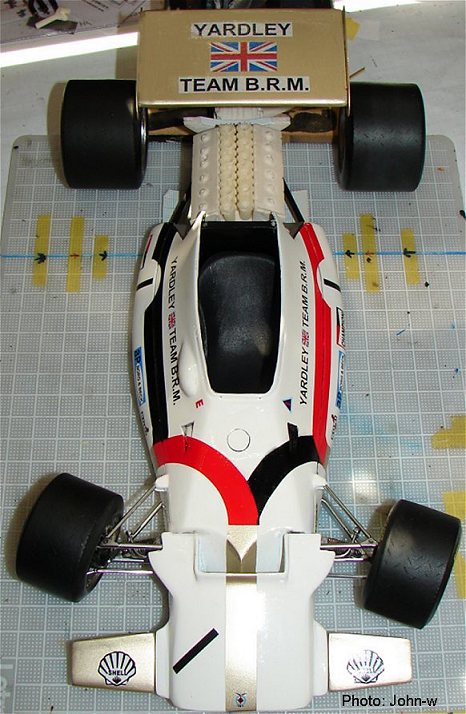
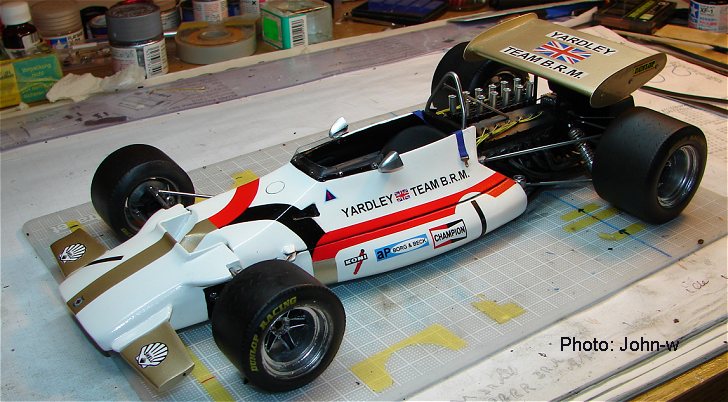
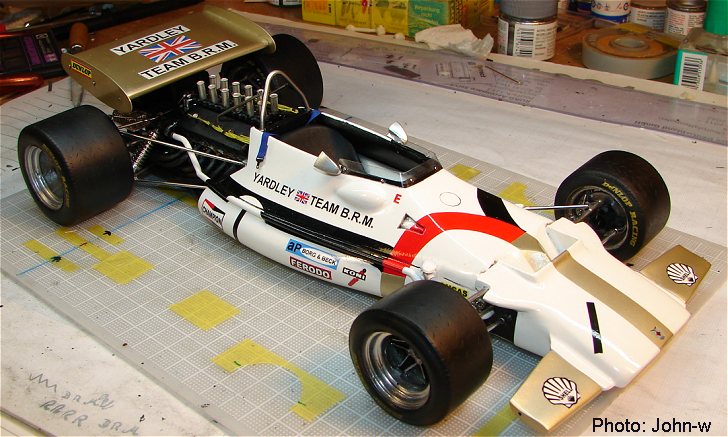
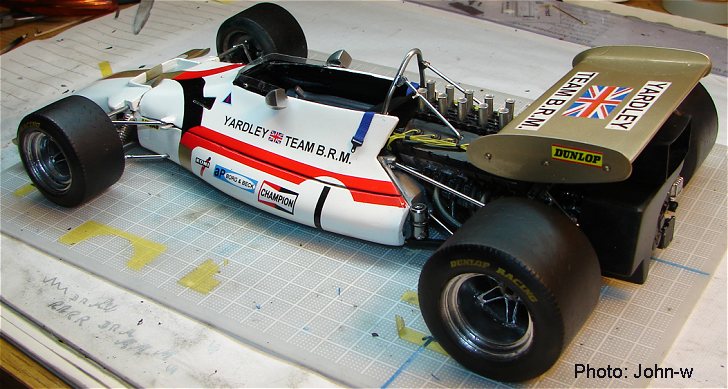
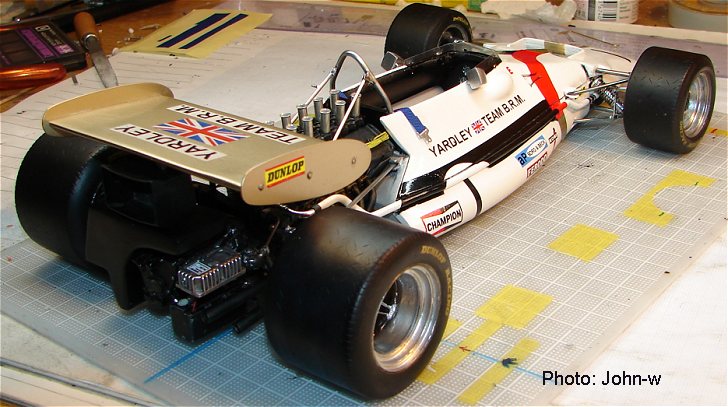
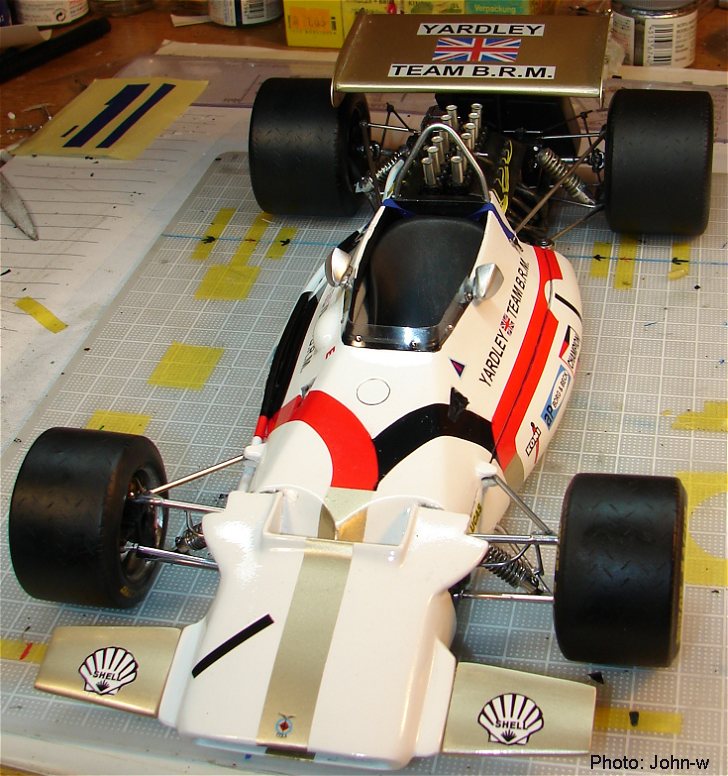
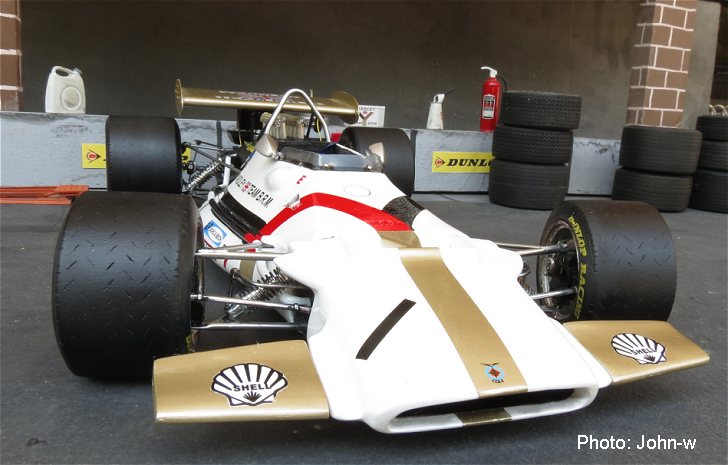
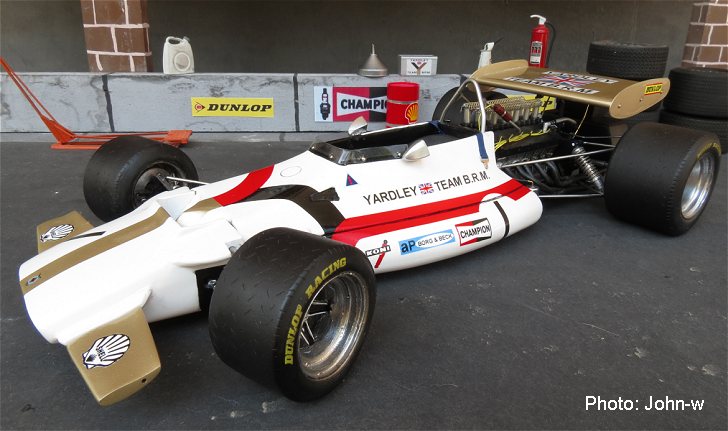
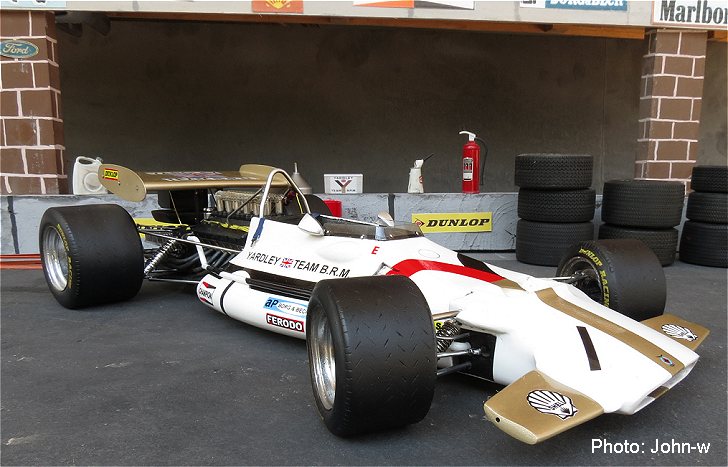
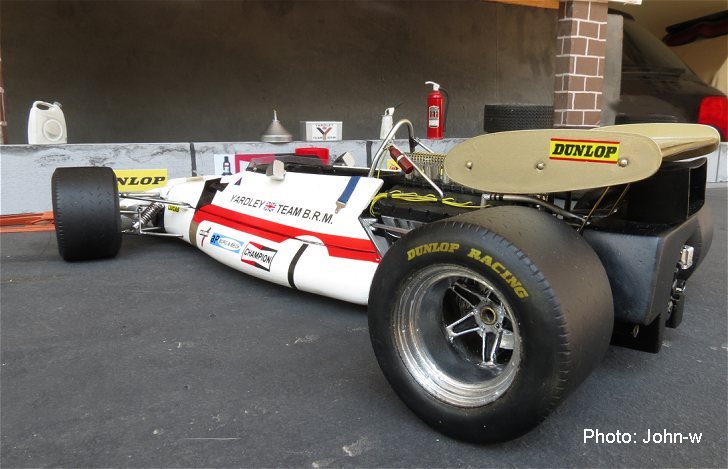
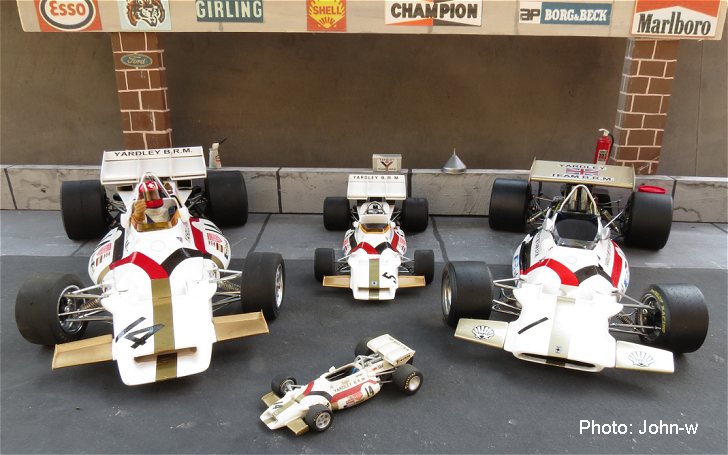
today I got my BRM P153 from Classic Model Museum in scale 1/12th, winner Spa 1970
with Pedro Rodriguez on the wheel. After a first look I have found some mistakes which I will
show during the WIP.
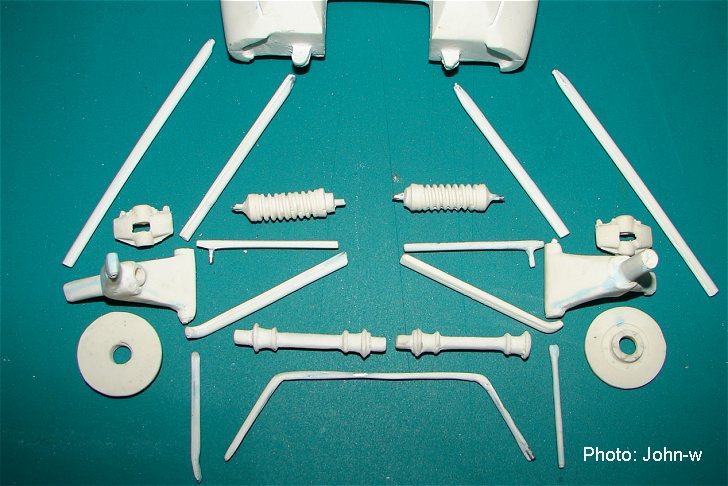
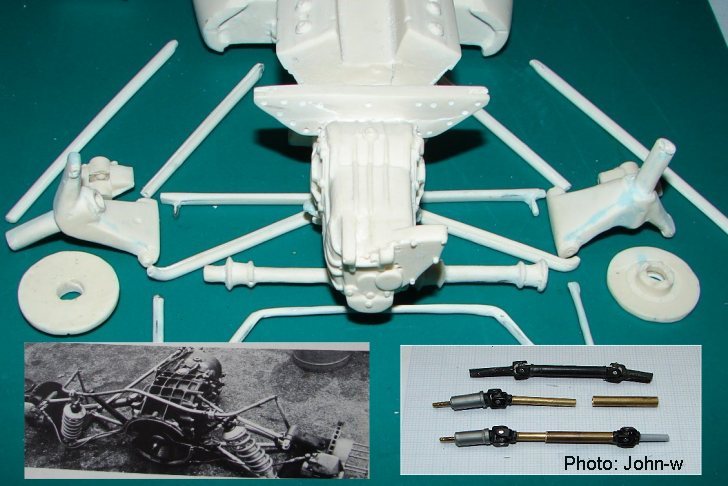
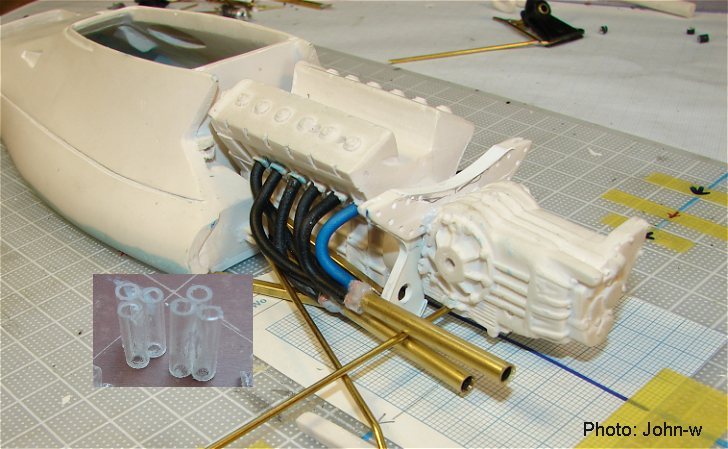
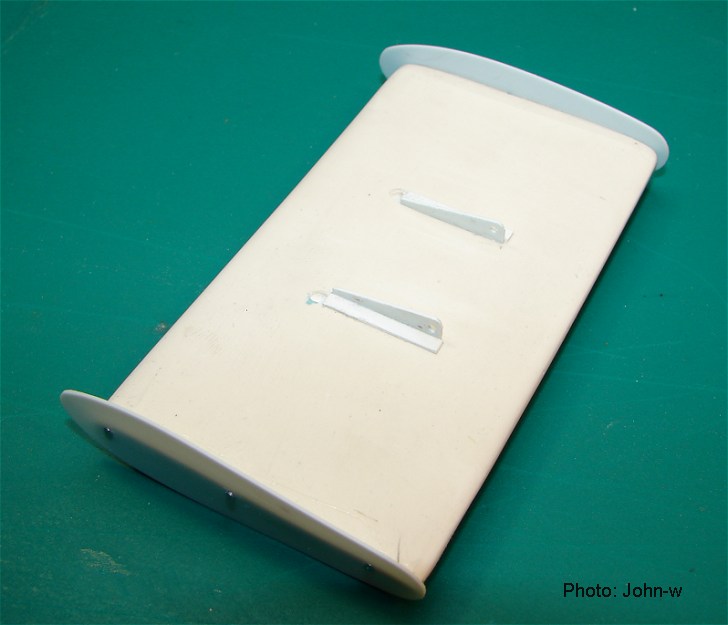
Here is a photo with all parts.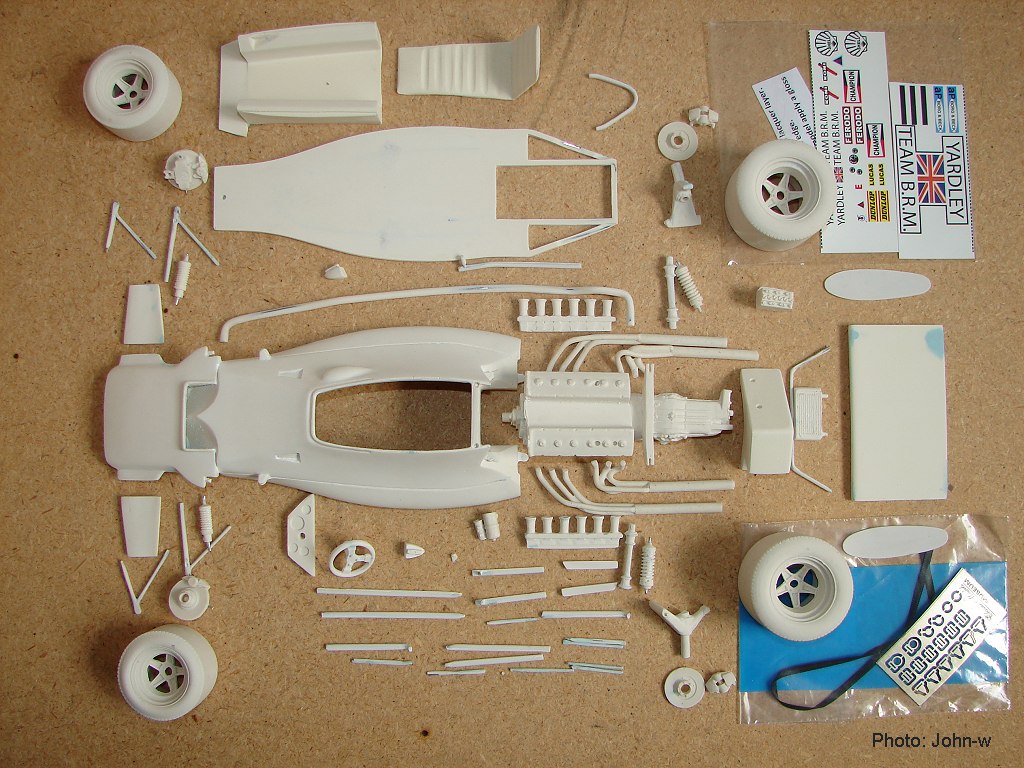
John-w
Edited by John-w, 10 June 2019 - 09:13.


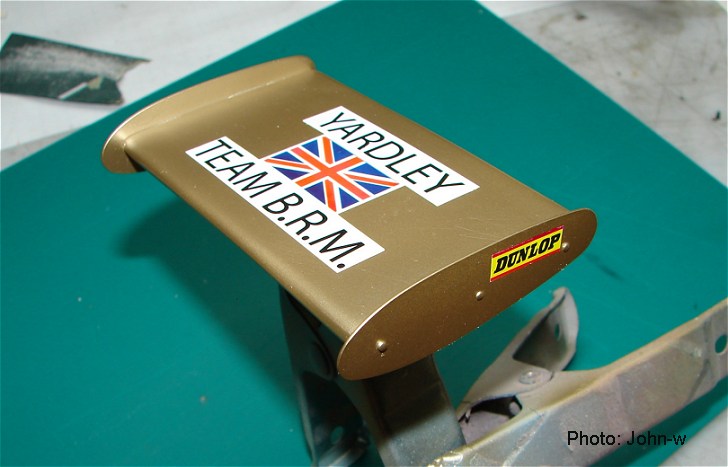
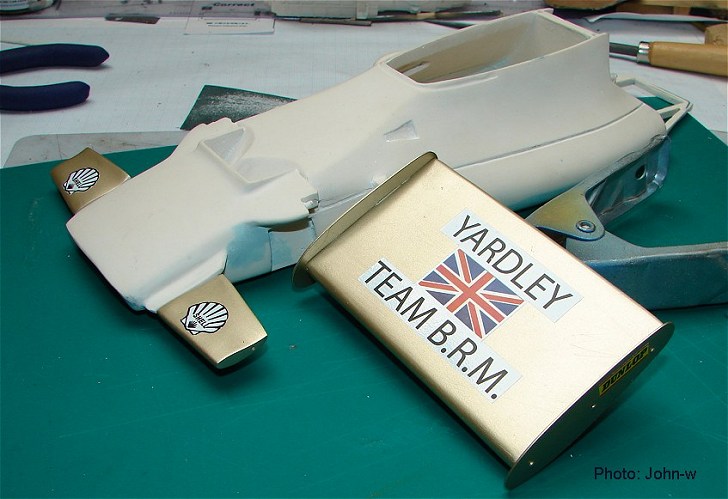

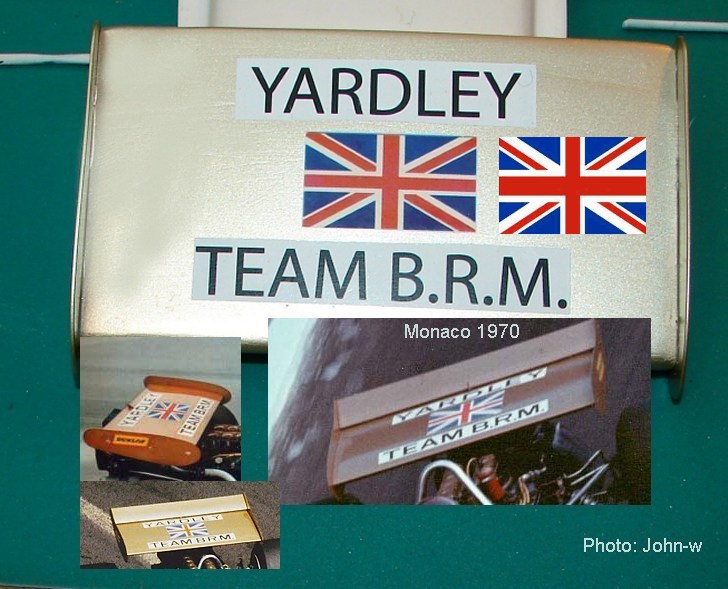


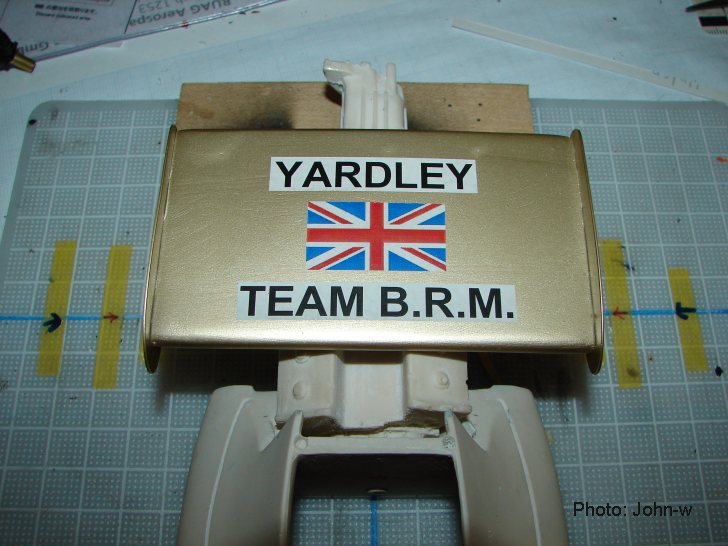
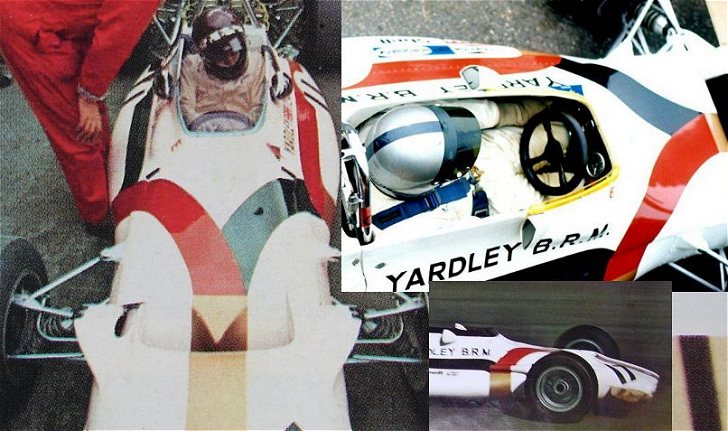
 Actually D, it's the model decal that's wrong - on the car it was right