Jump to content


Photo

Peugeot 404C - the restoration thread


  • Please log in to reply
60 replies to this topic

#51 404KF2

404KF2
  • Member

  • 19,120 posts
  • Joined: October 99

Posted 03 June 2020 - 05:31

I remounted the rear window of the 404 Coupé with no problem at all, and the modified clips are working perfectly.
 
Took 5 minutes to install and this time I started from the bottom of the seal and finished at the top.  I used a smaller gauge nylon cord to do the lip service (!) this time and it worked beautifully.
 
YES!!
 
Rear-window-mounted.jpg
 

Rear parcel shelf and leather rear bench installed.  For the moment there will be no speakers, because my 1981 Blaupunkts are dead.
 
Rear-Seat-installed.jpg
 

And the naughty....err....dirty bits....
 
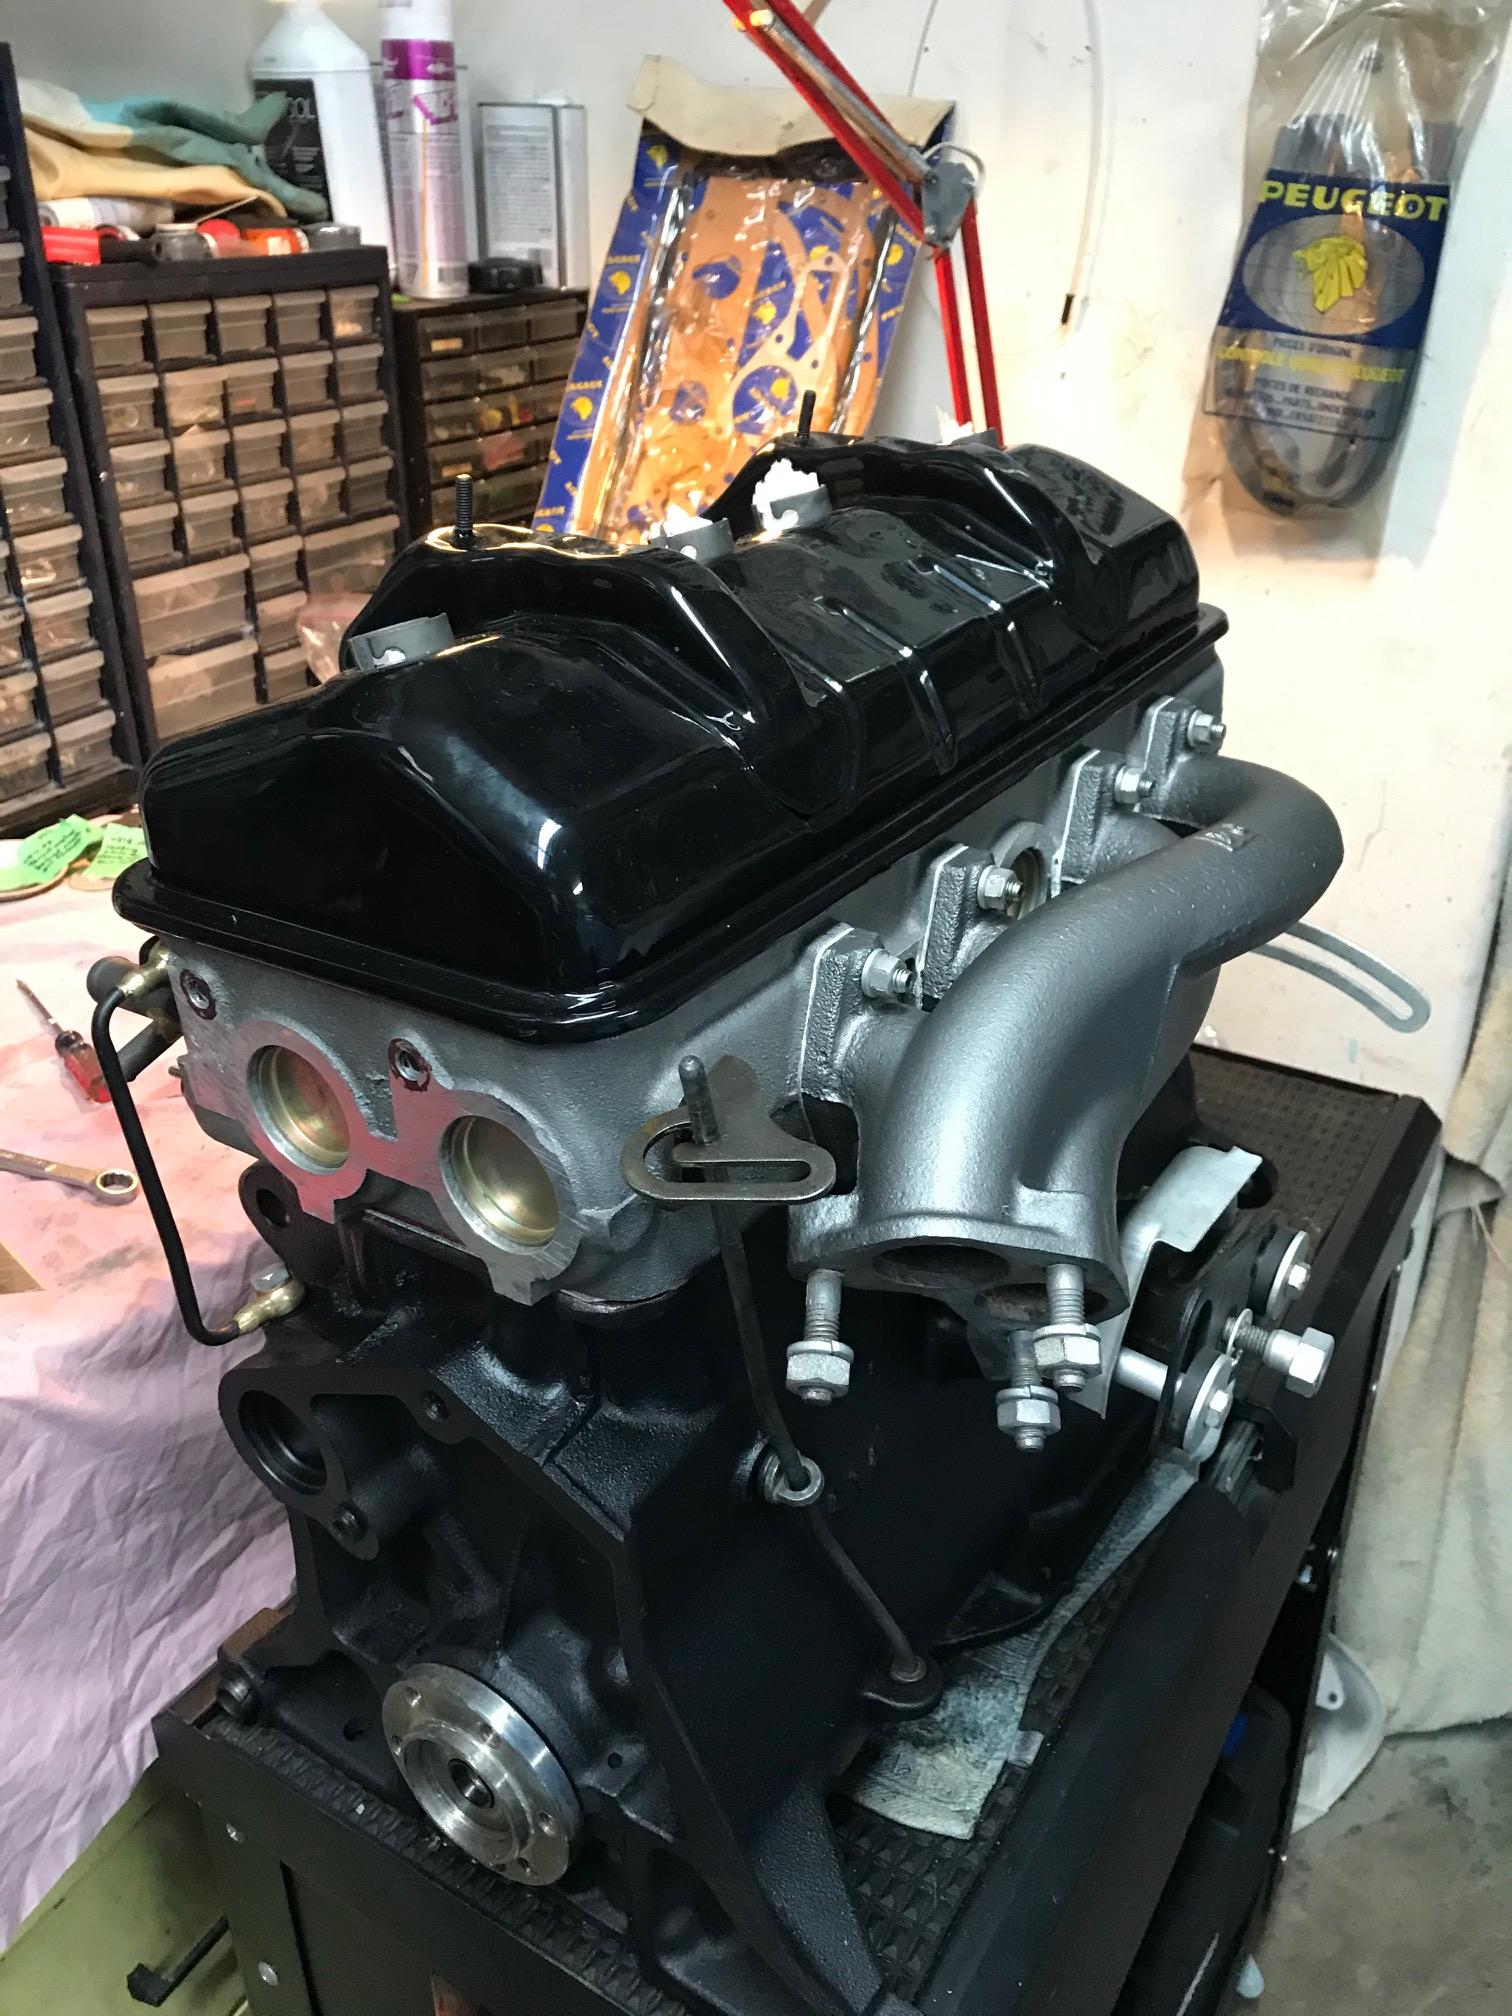
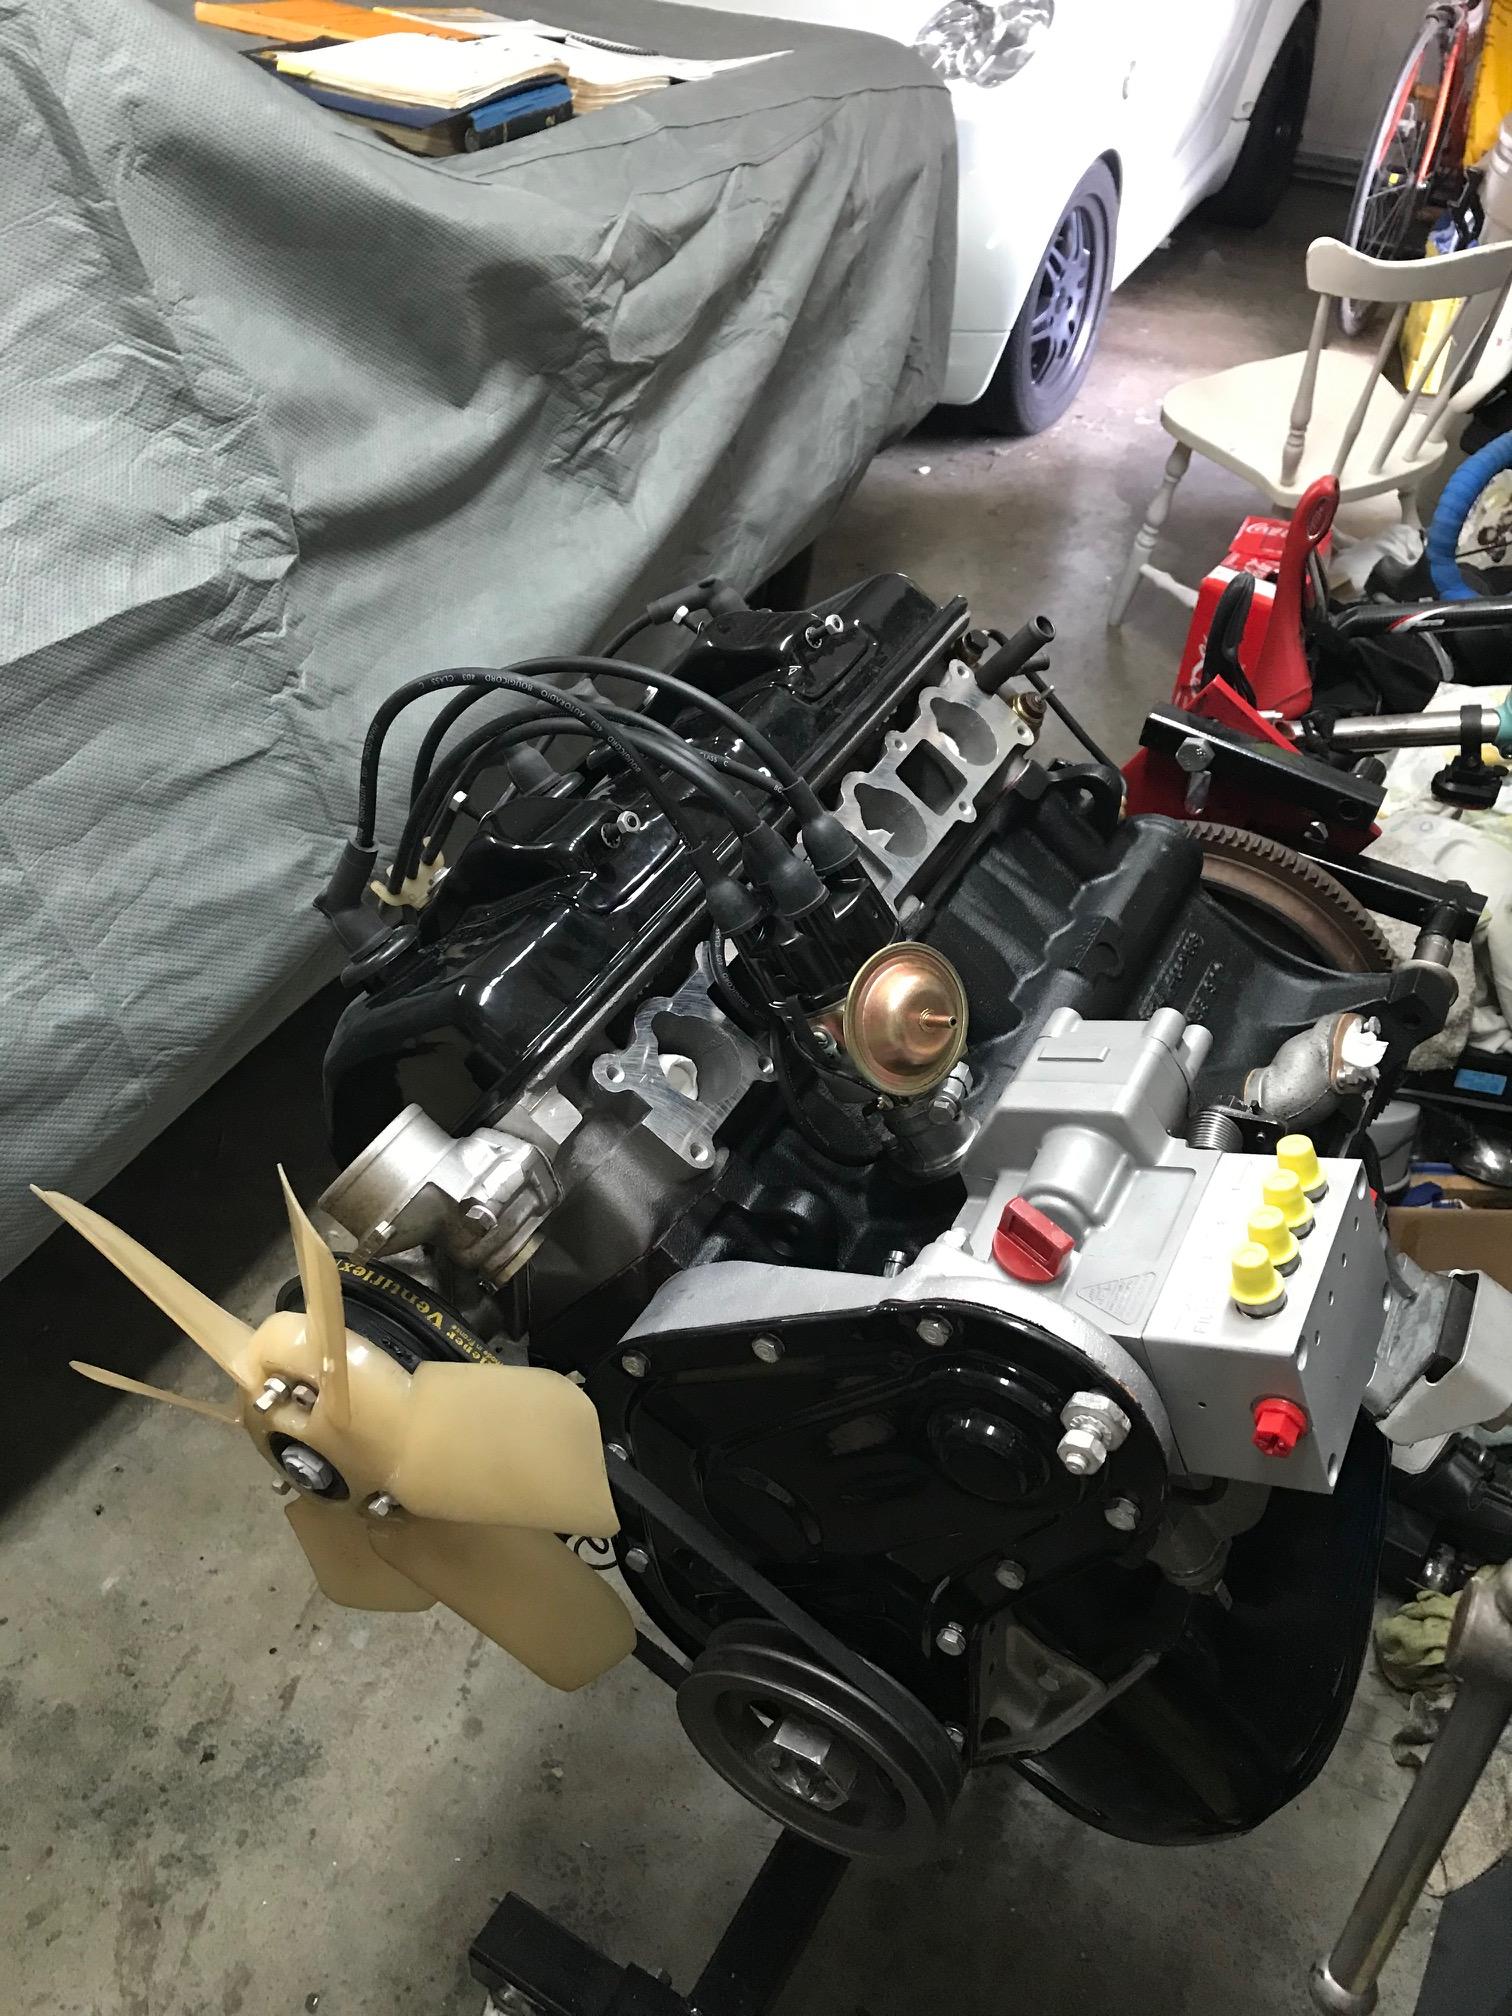
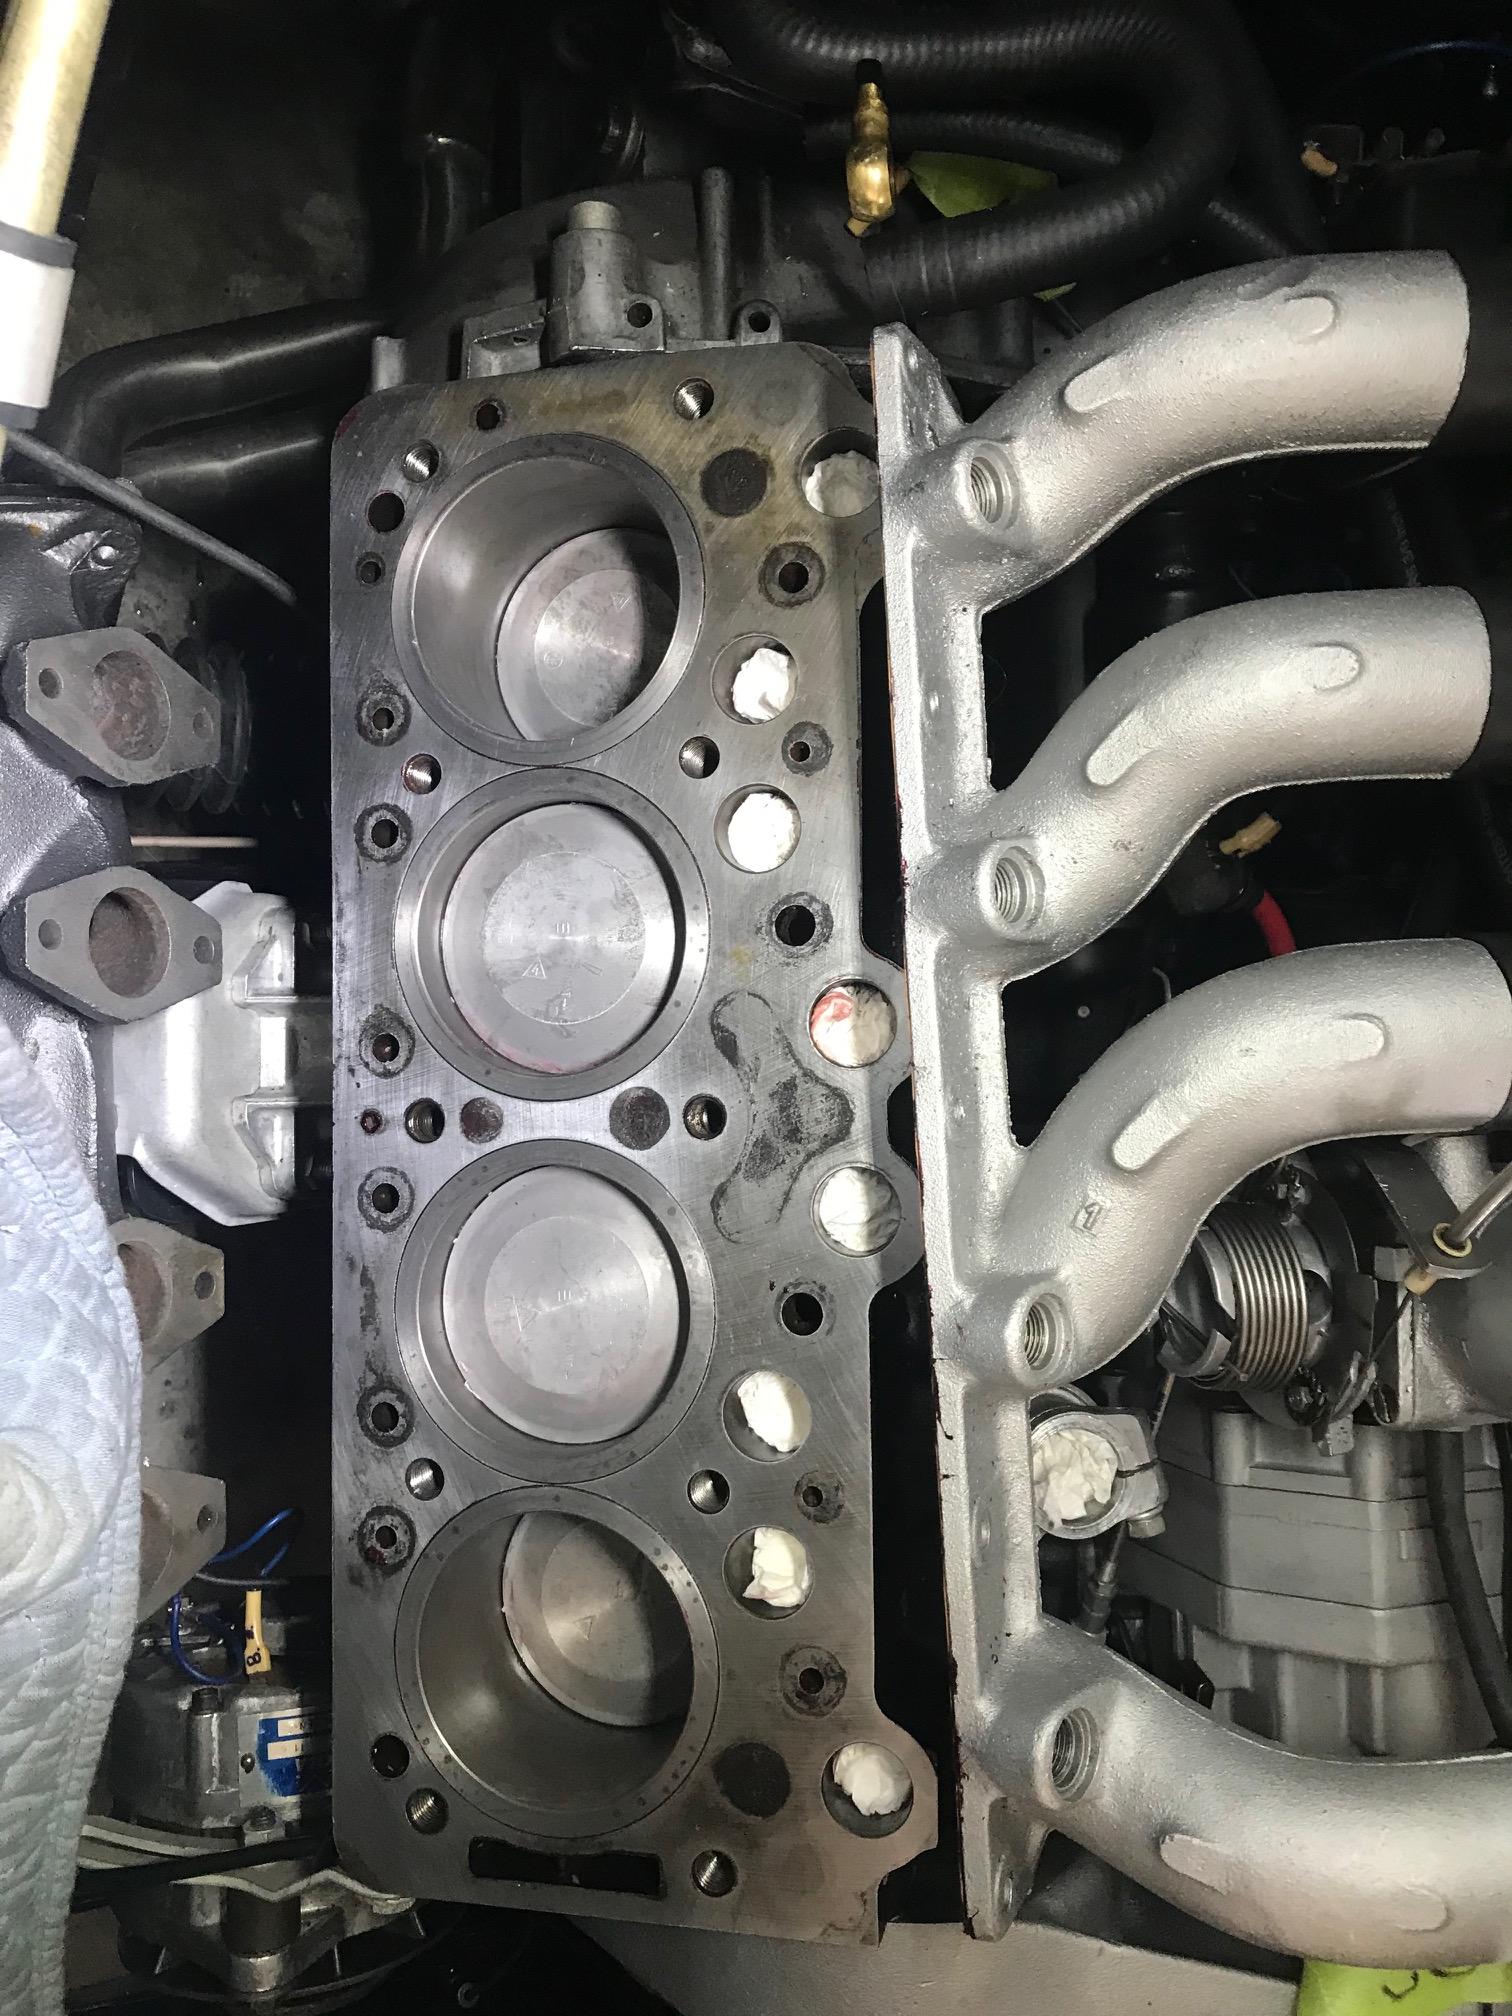
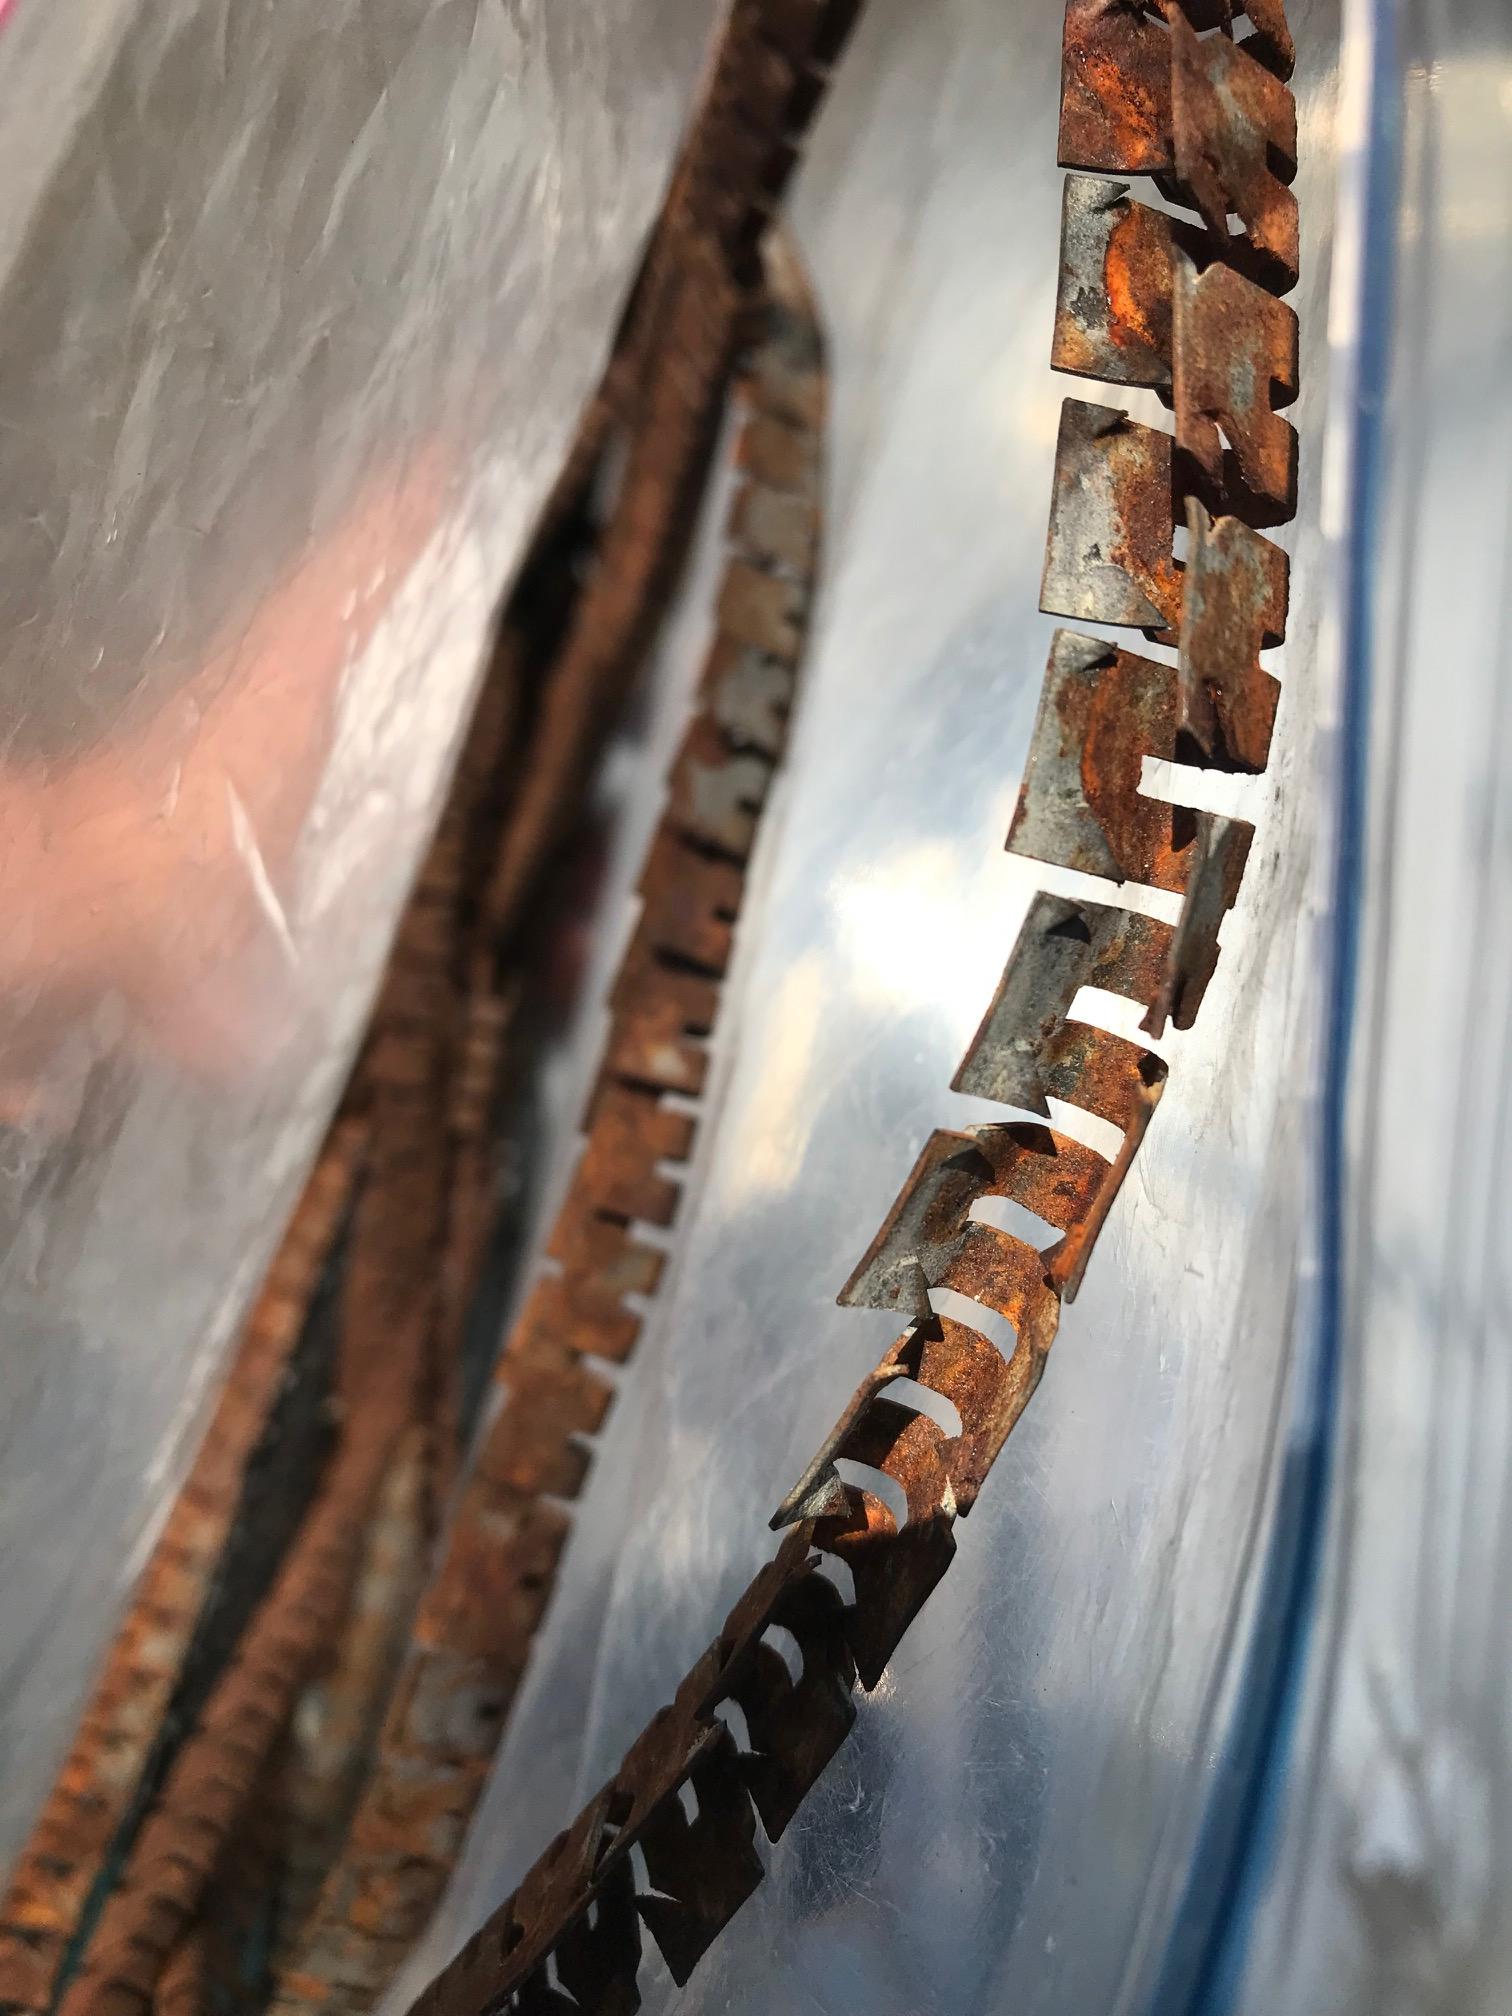
Removal of crankshaft, camshaft, pistons, liners...
 
Summary: 
 
- Crankshaft journals looks more or less OK: 0.3 mm should do.
- The upper (compression, I presume) rings were broken on all 4 pistons (!!)
- Lifters and peak of the cams on cylinder 4 were heavily worn (oddly, the other were OK)
- Sleeves were not too rusty in the water jacket area and the block where the seals mate is perfect.
- There was a lot of very thick sediment deposited in the lower sides of cylinders 1 and 2, especially by the block drain hole on #1.
 
I have new pistons, sleeves etc; however I could use a new cam or maybe get a regrind.  Need new lifters of course.  Update:  NOS camshaft has been ordered and new lifters are on their way....
 
Old-Pistons-and-broken-rings.jpgOld-Cam-and-lifter.jpgOld-Liners.jpgempty-block-2.jpgEmpty-block.jpg
 

Drilled 3 holes in the panels to mount the new carpet in the front driver's side.  The fourth hole was already there above the accelerator pedal.  
 
Driver-s-side-carpet.jpg
 
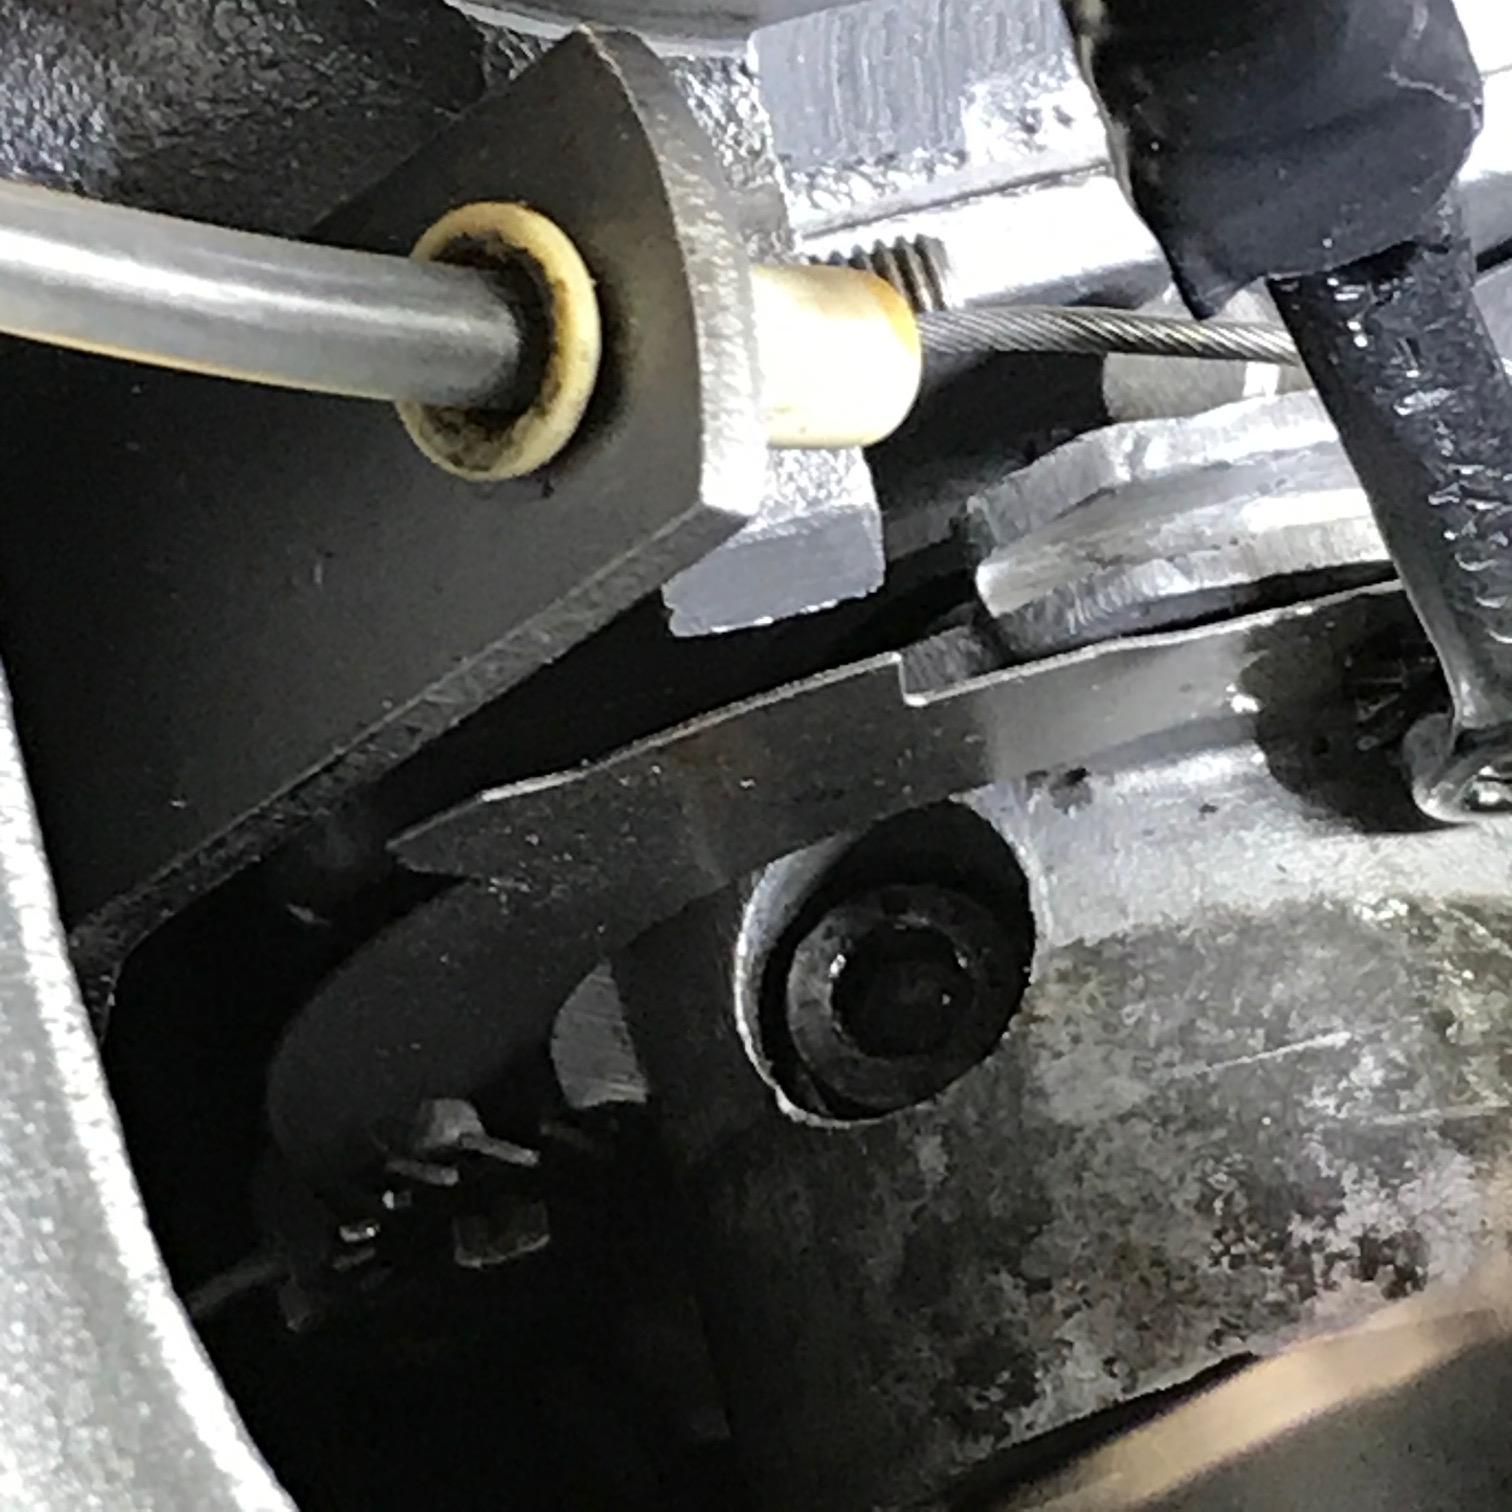
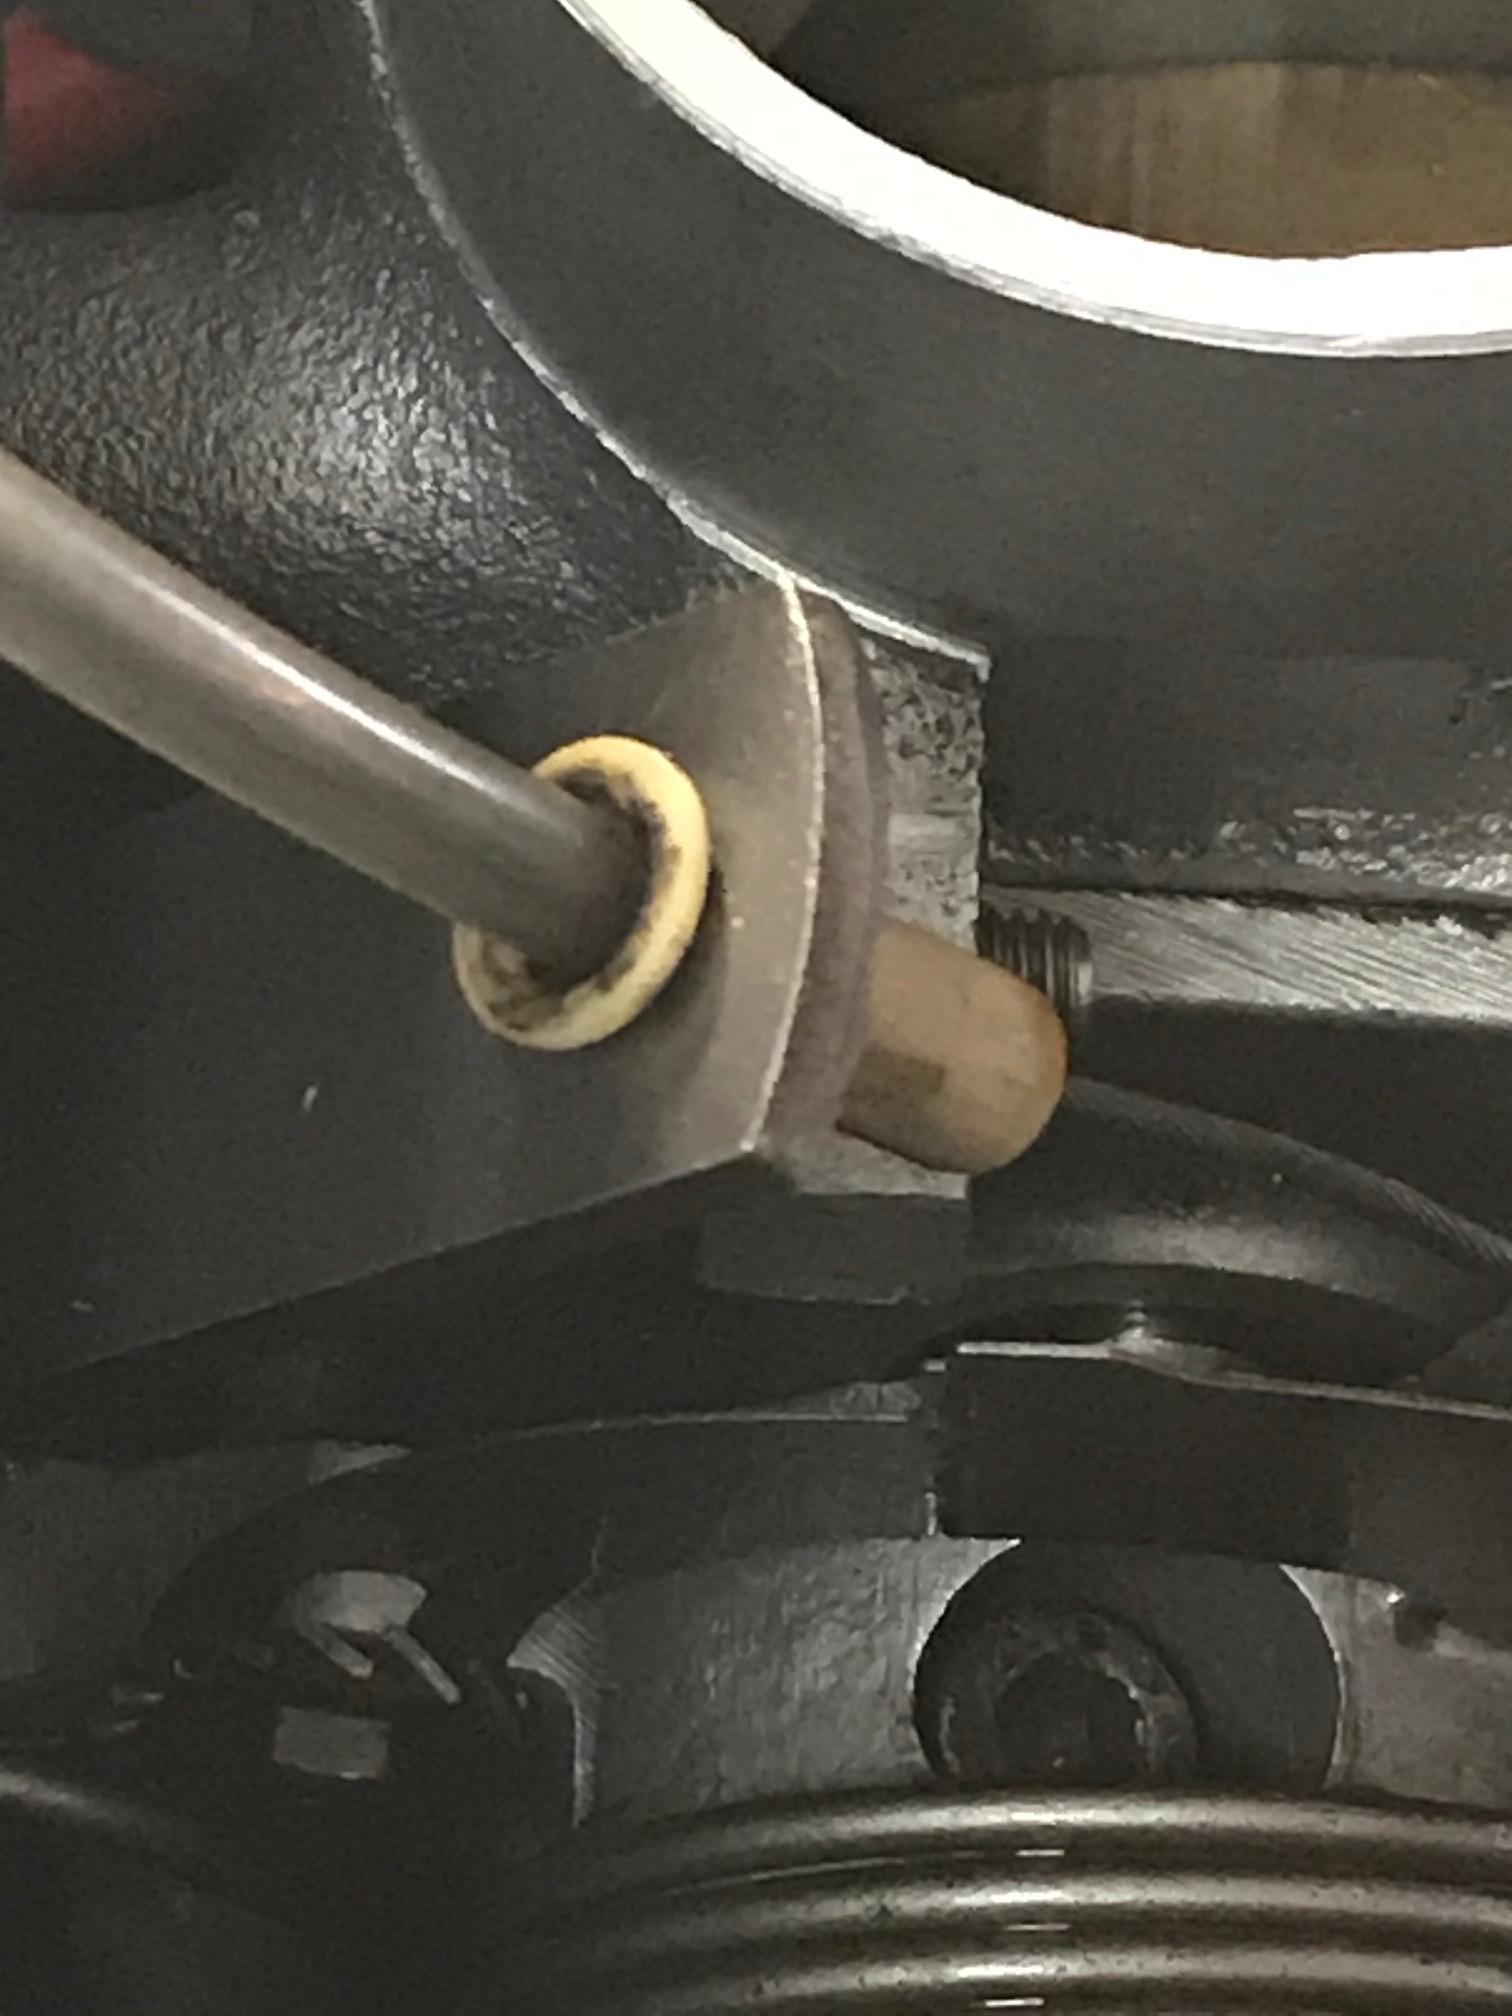
Also mounted the new speedometer cable and the accelerator cable.  The driver's seat was a bit of a bear to install because the captive bolts in the bodyshell were not long enough to penetrate the new (thicker) seat runners and so I had to knock it out and put a bolt and (blind) nut inside one.  
 
Driver-s-seat-in.jpg
 
The interior is now done apart from the transmission tunnel, which is still naked because I have to install the C3 gearbox and its Nardi floor shifter before final trimming. That'll be a while then.
 
Interior-done.jpg


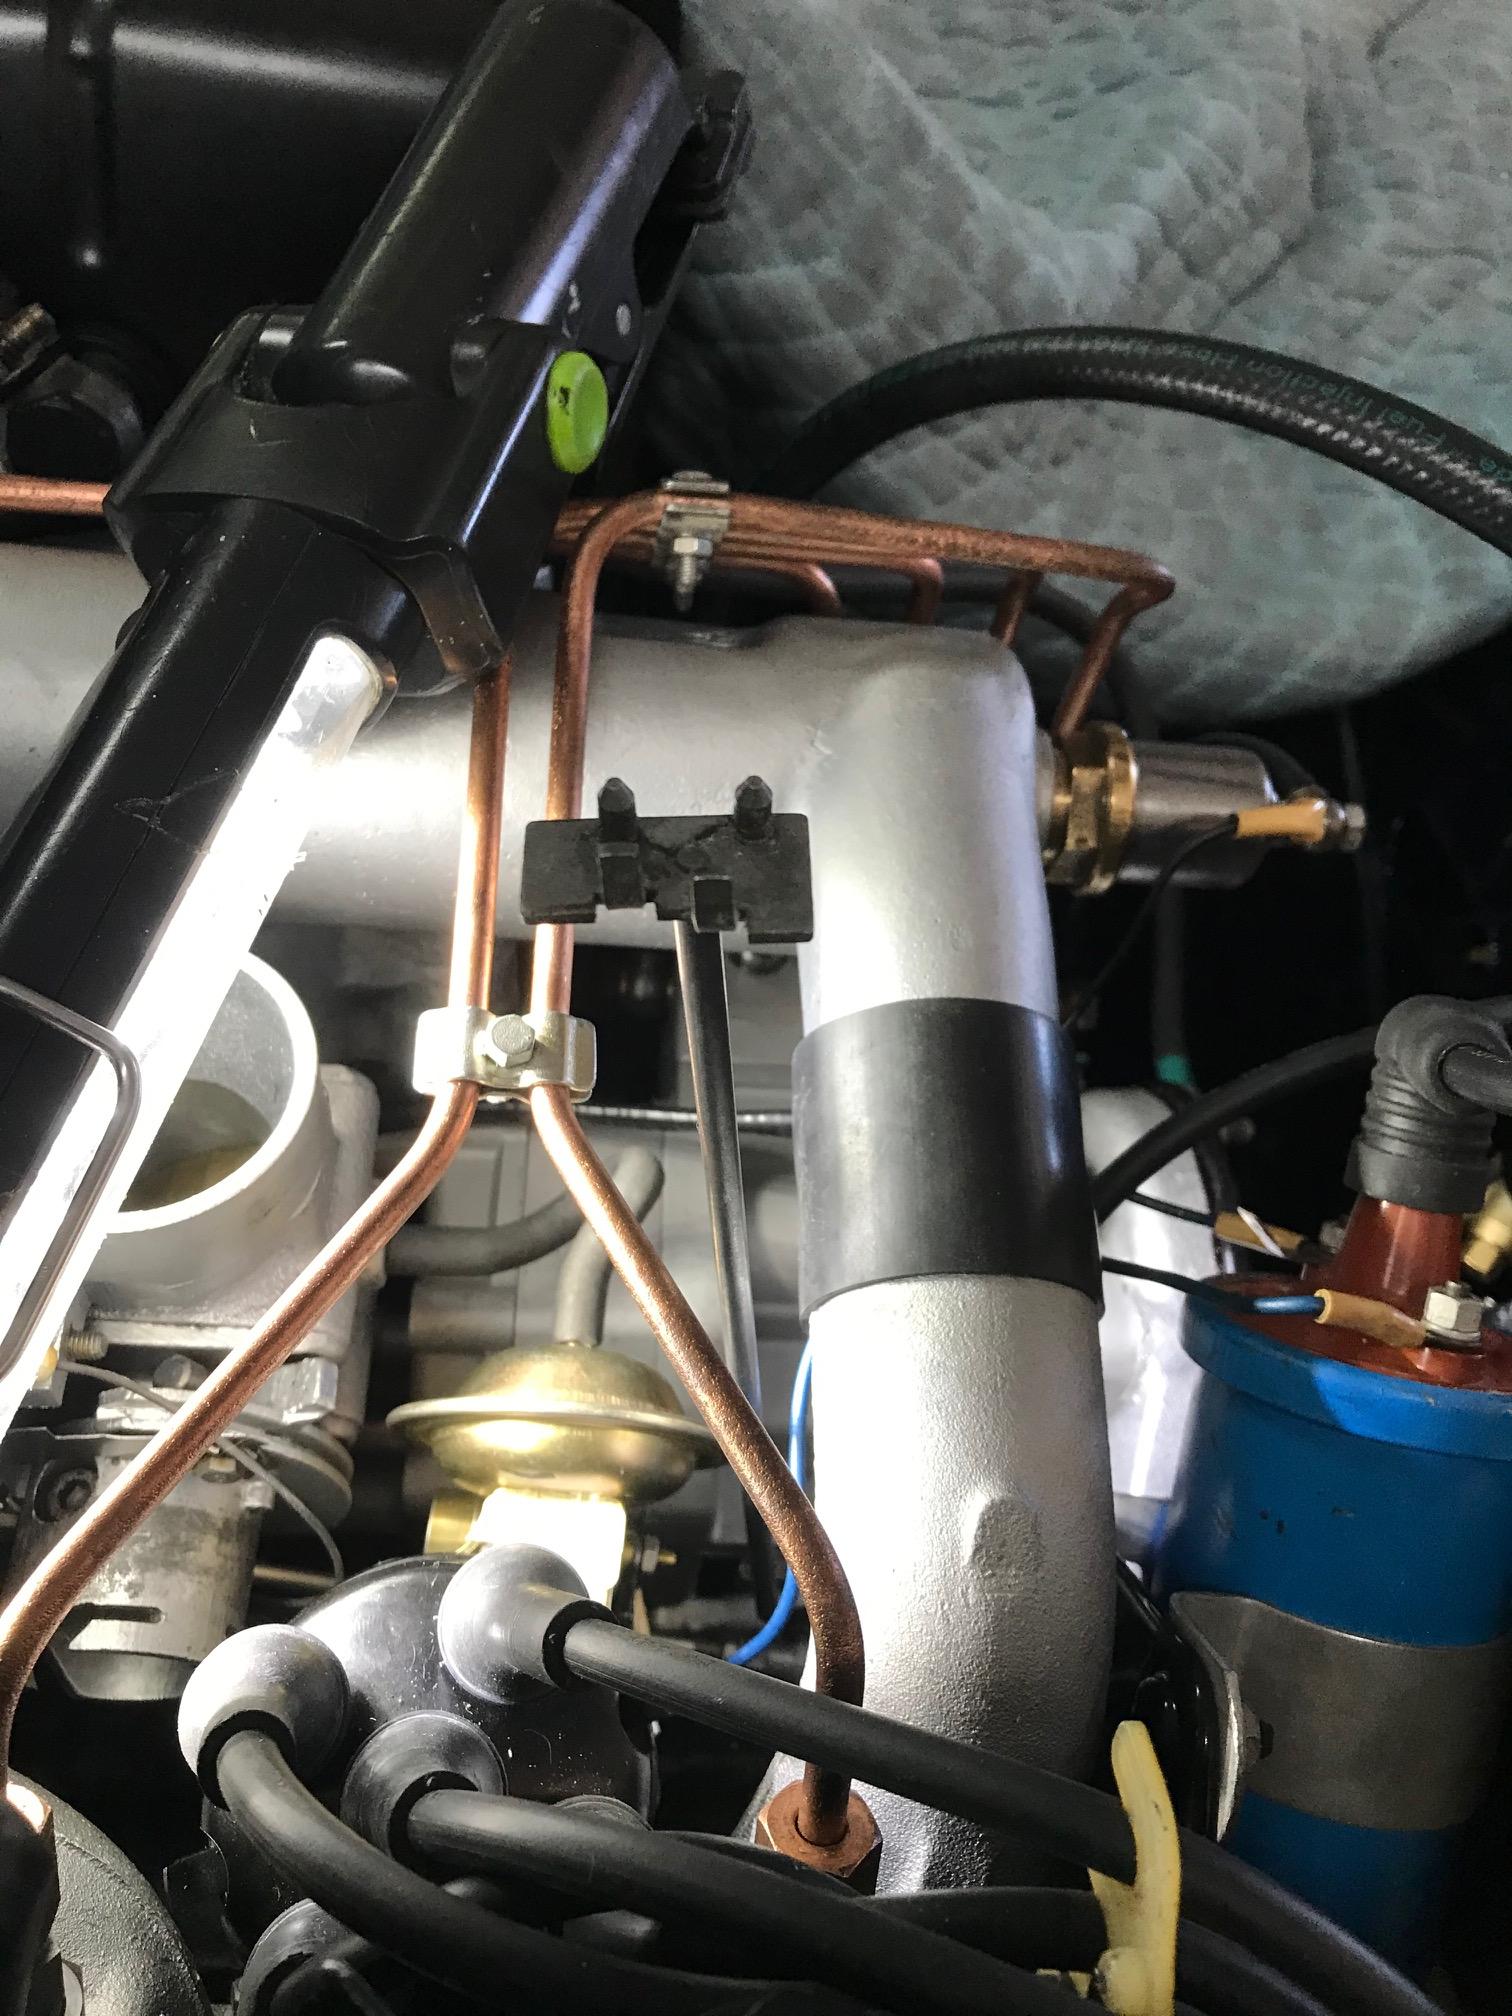
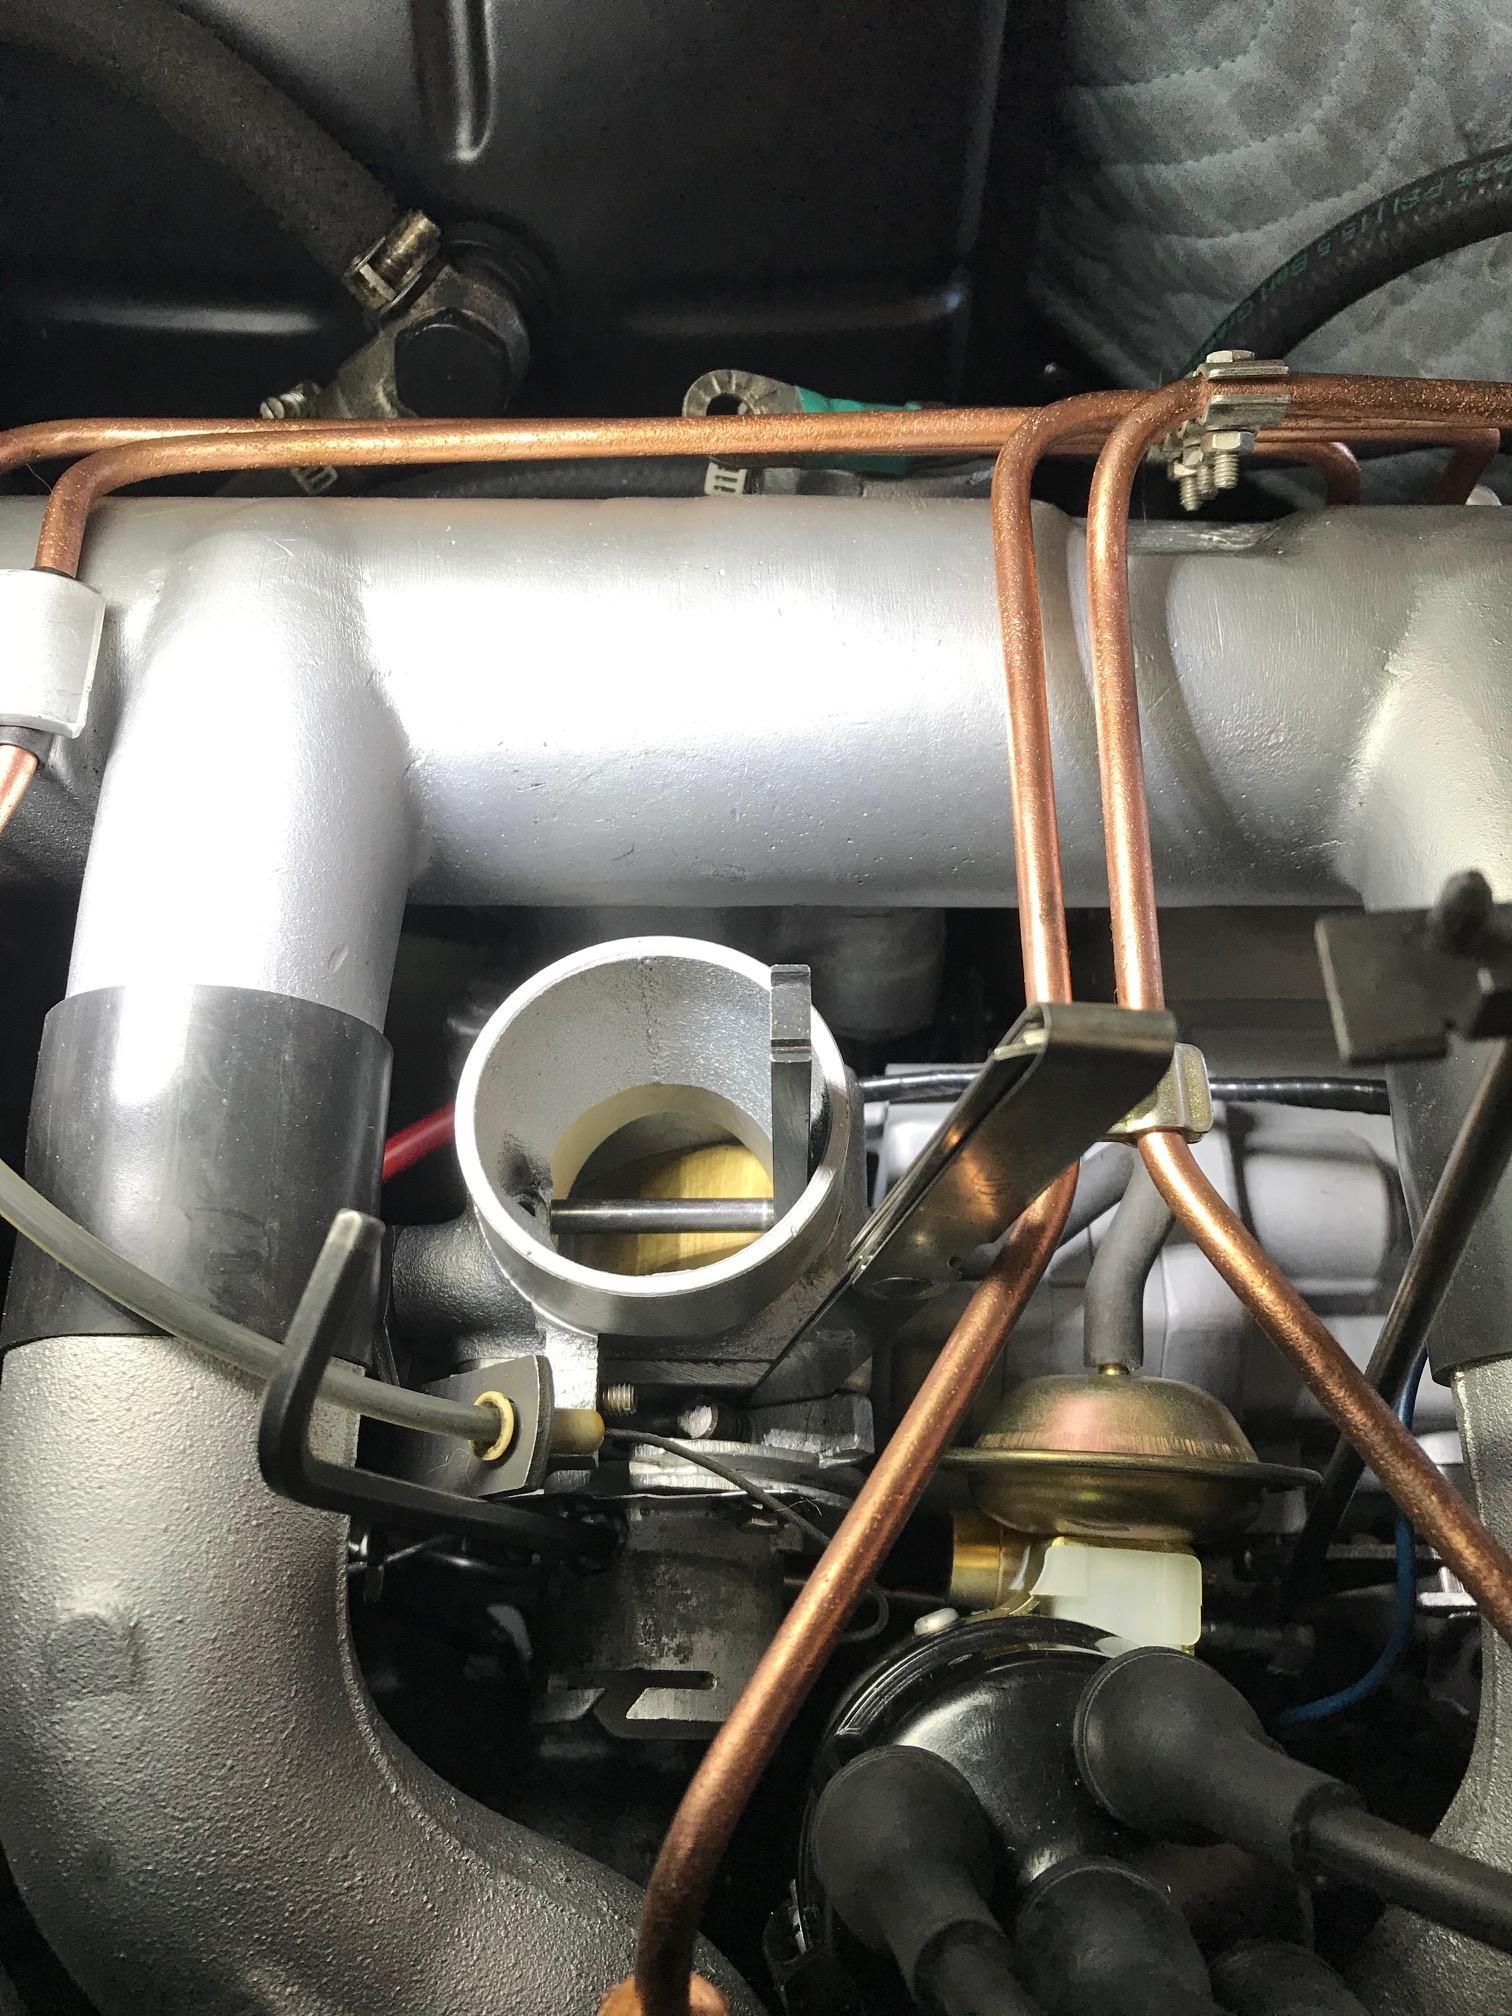
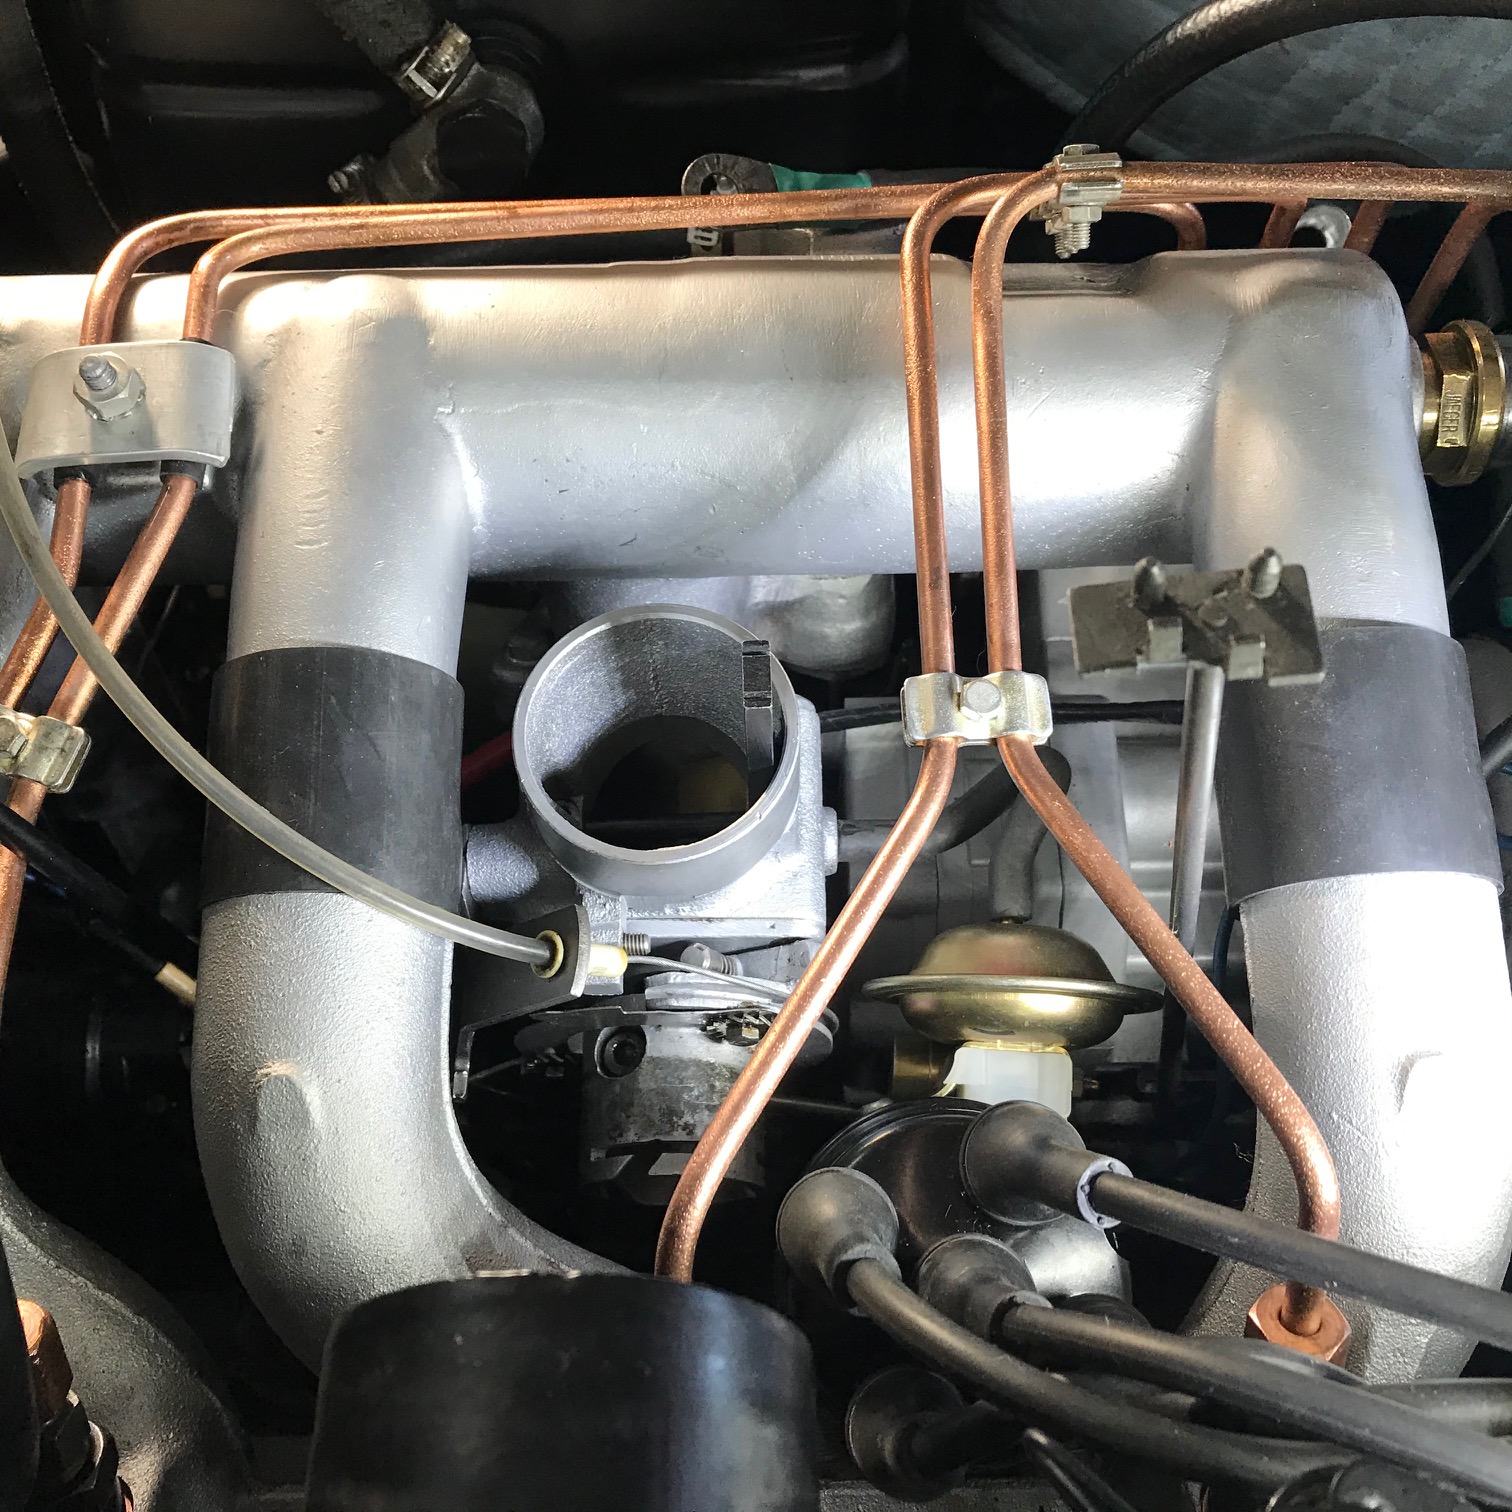
Saturday I'm going to rebuild the AEG/KF fuel lift pump with a kit supplied by my buddy Peter van Deukeren from NL.
 
The tiny bearings:
AEG-Pump-bearings.jpg
 
The shaft seal:
Seal-for-AEG-pump.jpg
 
The kit:
Peter-s-AEG-rebuild-kit.jpg
 
My two AEG PLF 5 pumps:
AEG-fuel-pumps.jpg
 
 
And today, because I couldn't find the original clips for the dash pad, I made these out of 1mm thick spare rocker panel/sill material. They now have to be covered with a thin layer of black vinyl. They join the top of the soft dashboard pad with the soft A-pillar trims. Each one has been shaped by hand to fit each side very well.
 
Dash-clip-replicas.jpg
 

Dashboard clips covered with vinyl.
 
dash-clips-covered.jpg
 
Passenger side:
passenger-side-dash-clip.jpg
 
Driver's side.
Driver-s-side-dash-clip.jpg
 
It was a pretty decent effort, I am pleased with the result.
 

Dismantling of the AEG/KF fuel lift pump.
 
A little bit of electrical tape over the motor's drive pinion facilitated the armature's extraction from the pump body without in any way damaging the original grease seal, which is still supple.  So I will leave it in place and use the same technique to re-insert the pinion through this seal.
Grease-seal-AEG.jpg
 
The freed armature.
IMG-6262.jpg
 
Making up some different sized slotted washers in the garage made short work of extracting the tiny drive pinion and nearly as tiny bearings.
IMG-6265.jpg
 
Armature mounted on a drill in a vise so I could polish the commutator/slip ring with fine emery cloth.
IMG-6267.jpg
 
Comparison between the armature of my car (4598609) on the right and that of a scrapped Canadian Cabriolet (6800519) on the left. 4598609 has done 83,000 miles.  I bought the entire drivetrain from 6800519 in 1982, and at least the electric motor seems to show the traces of more like 200.000 miles...
IMG-6268.jpg
 

I pressed the new bearings onto the motor shaft with a vise and then the pinion gear after it was inserted into and through the grease seal in the underside of the motor mounting plate.  Checked the length of the original brushes: 6 mm and 9 mm....too short, so I looked in my spare parts stock and found two new or nearly new ones, both 12 mm long.  Then the motor was tested and it was SO smooth!
 
AEG-electrical-part-rebuilt-and-tested.j
 
Next task: the hydraulic part of the pump, which sits below the electrical part.
 

I reassembled the hydraulic part of the AEG/KF PLF5A fuel lift pump.
 
Bad surprise: despite the excellent condition of the electrical part of the original pump that equipped my car, the same could not be said of the hydraulic part.  The idler pinion inside the pump chamber was seized to its shaft!  The last time I ran the engine was about 2005 so the seizure occurred after that....I presume after I disassembled the car in 2016.  Also, the lower plate that covers the pump chamber has a regulation valve that is supposed to be removed and checked during a rebuild like this and it too was seized!  Anyway, all was not lost...
 
...because I have a spare lift pump from a car I used to own in 1981-1985 and its hydraulic portion was perfect.  All it needed was a thorough cleaning.
AEG-comparison.jpg
 
Cleaning nearly done and the last bits about to go back together....
AEG-hydraulic-open.jpg
 
And it's together.  I did another dry run test with it all assembled and it sounded good.  I should try a pump test, I suppose, though I have no reason to think it won't pump.
AEG-assembled.jpg
 
49958874307_4c6434cf55_h.jpg


Advertisement

#52 404KF2

404KF2
  • Member

  • 19,120 posts
  • Joined: October 99

Posted 07 February 2021 - 05:20

The engine's been at the rebuilder - long block only - I will do the rest - since December and the crank etc is being balanced and all parts as well.  I may have it back by the end of the month.  Meanwhile I've run out of things to do to the car - everything that I can install before the engine is back in place has been installed.  The rebuilt C3 gearbox with Nardi shifter, road horns (all three - two of which I rebuilt because they come from an era when you could do that), carpeting, heater blower.....


Below, a few photos of the last several months of work...


The last batch of plated parts:

plated-parts-Oct-2020-02.jpg
Plated-parts-Oct-2020-01.jpg
 
Pigging out the newly plated fuel injector lines:

Injection-lines-first-cleaning.jpg
pigging-out-the-lines.jpg
 
Putting the last bits of the brake lines in place:

brake-hose-adaptor-front.jpg
brake-hose-adaptors-from-J-M-Faivre.jpg 
brake-hose-LF.jpg
brake-hose-RF.jpg
 
Water pump assembly:
water-pump-assembled.jpg
 
Changing of the clutch release bearing and its shaft after the gearbox bearings and seals have all been replaced:
New-release-bearing-installed.jpg
 
Gearbox with Nardi floor shifter mounted in the 404C:
BDEB6-F02-57-FD-4-B00-A8-E4-F4094-CBCD98
 
Rebuilt heater blower motor unit mounted along with new dashboard switch and the transmission tunnel covers. 
SOFICA-installed.jpg
 
Got a "Le Club 404" aluminium plate for my Jaeger sports instruments in January, so one day these will go in the car to replace the strip speedometer.
Jaeger-Panel.jpg
 
Rebuilding the two Klaxon road horns....

Horns-1.jpg
Horns-2.jpg

Horns-Back-Side.jpg

Horns-Front-Side.jpg
 
Mounted Klaxon road horns:

Rear-horns-view.jpg
Horns-behind-grille.jpg
 
Mounted Sanor town horn:
SANOR-installed.jpg
 
Next will be engine reassembly with mounting of the Kugelfischer injection pump, oil pump, sump and other ancillaries......once I get the long block back.

Edited by 404KF2, 07 February 2021 - 05:20.


#53 404KF2

404KF2
  • Member

  • 19,120 posts
  • Joined: October 99

Posted 06 September 2021 - 05:12

It has been a while since the last update!


February 26th the new rod bearings arrived (0.3 and 0.5 mm oversized) and thy were taken to the shop.


1224766684_Rodbearings0_30.5.thumb.jpg.1


#54 404KF2

404KF2
  • Member

  • 19,120 posts
  • Joined: October 99

Posted 06 September 2021 - 05:19

Late in February I decided that the stainless steel license plate mount on the back of my Mercedes is very nice, heavy gauge and ideal for the 404C.  It will prevent the front plate from bending if it gets a "light kiss" in a parking lot, for example.  So I bought on from a wrecker, had to drill two holes to match the 404C bumper holes and mounted it. 


This is much nicer than the original rusted one that I threw out some years back..which I later regretted.... but now I don't!


532001412_FrontPlateMount.thumb.jpg.1229


Not much later I got the long block back and started preparing it for installation in the car.

IMG_7318.thumb.jpg.6245f9e22cb0a6c30b0ef


April 5, 2021: In between a major bathroom renovation and other home plumbing tasks, I managed to install the new distributor (M50 curve, KF2 spec of course), plug wires, water pump and its famous 1280.01 unadjustable Ventiflex belt.

584763987_enginepre-installation.thumb.j


April 12 the engine went in the body....Jenn (my eldest daughter) helped.

1948871296_Jennonhoist.thumb.jpeg.ed1af6


#55 404KF2

404KF2
  • Member

  • 19,120 posts
  • Joined: October 99

Posted 06 September 2021 - 05:33

April 18, 2021: the engine was buttoned up, provisionally as it turns out....

1872808384_Engineinst1.thumb.jpeg.59e326


In early may the stainless steel exhaust system was installed.  Sounds easy but without a lift and much room it was a bit of a challenge.


I also had been concerned about the internal cleanliness of the used and newly copper plated fuel lines between the Kugelfischer injection pump and injectors. so I removed them and cleaned them out internally with muriatic acid, flushed with copious amounts of water and then litres of WD-40.  A large amount of rust and old fuel crud came out so I'm more confident in the system being clean now.


May 11, 2021: I got the last bits of the braking system installed.  The Hydrovac booster is NOS but not rebuilt after being in the car with brake fluid for some time so it may not work properly.  To be verified when the engine is started and I can do a test drive.  I have a Le Club 404 contact in the USA with a newly (2 years ago) rebuilt Hydrovac and so if it is duff, he would do a standard exchange.  The remaining tasks are to put all the fluids in (after the lower radiator hose and 75 degree thermostat arrive from Germany.....), verifying valve clearances (the long block builder did it but I will double check) and checking all of the injection system settings with the special tools.

1536340846_Hydrovacandvacuumtank.thumb.j


May 22, 2021: Fuel injection setting checks:

Step 1: Not a great view, but the tool you see sticking up by Cylinder 4 has a hook on the other end that sticks into the richness lever and locks into a slot on the throttle body:

1757696648_KFInjectionPumpLeverSpecialTo


Step 2: The first pre-adjustment is to the clearance between the throttle body and the throttle body drum: 1 mm (adjusted by a 5 mm Allen key as you can see) with a special tool inserted into the throttle body and the tool shown above in Step 1 still in place:

1076256054_KFAdjustmentI-ClearancetoThro


Step 3: In this step - Adjustment I (the precursor to Adjustments II and III of course!) with the injection pump richness lever locked in position and the throttle butterfly also locked in place, the two bolts (with jagged lockwashers) holding the thin metal "sector" plate to the throttle drum are slackened and it's moved until the forward flat mark lines up with the boss on the throttle body, then the bolts are tightened down again.

630035333_KFThrottleSector.thumb.jpeg.58


Step 4: Another view of the special tool that locks the injection pump richness lever into a slot on the pump body while the throttle position is set by another tool:

1323241148_KFSettingThrottleSector.thumb


Step 5: Inside the throttle body is the tool that holds the throttle plate in a set position relative to the injection pump, which also has a special tool in it (the top of which is visible at the bottom of the photo). This essentially registers the throttle body position with that of the injection pump:

1559201733_KFSpecialtools.thumb.jpeg.d4a


Step 6: Adjustment II: this is the maximum throttle opening (you can see the vertical throttle plate in the photo), and it's set by lining up the notch on the thin metal plate that's bolted to the throttle drum with the jagged lockwasher with the front face of the boss on the throttle body. The adjustment is achieved by rotating the screw whose threading you can see just above the cable.

1515485753_KFAdjustmentII-Maximum.thumb.


Step 7: Final check (Adjustment III): Minimum throttle opening. Here the higher notch on the thin plate bolted to the throttle drum must line up with the flat boss on the throttle body. Lower centre right of the photo. You adjust it by adjusting the minimum throttle stop screw. Once the engine's running, the adjustment can range between where it is in this photo (12°) and the lower notch to the left (10°).

1882398542_KFadjustmentIII-Minimum.thumb


#56 404KF2

404KF2
  • Member

  • 19,120 posts
  • Joined: October 99

Posted 06 September 2021 - 05:45

May 30, 2021: This is when I discovered that the NOS head is messed up: when the engine was filled with coolant, a very slow but steady weep at the junction of the block and head appeared.  The engine in the 404 sits at a 45 degree angle and so it was dripping under gravity.  Not sure what it could be, the head had to come off.  Here if you zoom in on the photo you can see the drip forming at the junction between the black block and silver head.  About one drip per 30 minutes would fall.

2138474207_HeadGasketDrip.thumb.jpeg.5aa


Block looked OK

1932686695_Block2.thumb.jpeg.e0d80eb15b3


Head was visually OK too:

699830676_Headoff3.thumb.jpeg.7285bb1b95


The engine builder used a Peugeot OE steel-asbestos gasket.  I decided to use the Reinz when it goes back together: better sealing and a bonus of higher compression because it's thinner.

1826466086_ReinzCurty.thumb.jpeg.da231fb


I took the head back to the shop.  They did not plane it before initial assembly because it was new old stock, and the mechanic's rule showed it to be flat.  I left it there anyway because they offered to give it a light skim free of charge, and they said in late June 2021 that a couple of low areas were apparent around where the head was weeping.  In the end about 0.38 mm had to be skimmed off to level it all up.  So, that was encouraging news.  Here's the head after the skim.50130862_refinishedhead1.thumb.jpeg.9be7


#57 404KF2

404KF2
  • Member

  • 19,120 posts
  • Joined: October 99

Posted 06 September 2021 - 06:00

I had read in a 1973 Peugeot Service Bulletin that the previous recommendation to systematically replace all connecting rod bolts was no longer valid.  As it turned out, this was a bulletin intended for cars later than the 404 I have, whose rod bolts are held in place with knurling rather than a machined shank.  In any case, I had not instructed the shop to replace them and upon re-reading the 404 Injection factory manual it became apparent that I should have.  Well I had a set of rod bolts in NOS but they were not the correct ones for the 404 so I had to order a set of new old stock from Joern Haarmann in Germany.  Joern has a lot of good stuff and his prices are fair.  Of course, this means the block has to come out of the car too.  So that is planned for October.....

1010391222_ConnectingRodBolts.thumb.jpeg


July 25th: I took the advantage of the current pause in work to clean the old door seals.  The new replicas available these days are too thick and press too hard against the doors when shut - which makes them hard to open and the rear shot line is not right.  Because the rubber of the originals seems to be in decent condition, I thought I'd spend a few hours cleaning one up to see if my plan to reuse them would pay off....


Before:

622233231_Dirtyseal.thumb.jpeg.207fd347a


Before (inside the seal where the metal clips are placed):

1990047206_Insidedirtyseal.thumb.jpeg.26


After:

873424611_Cleaneddoorseal.thumb.jpeg.25f


After (inside the seal where the metal clips are placed):

26374112_Insidecleanedseal.thumb.jpeg.61


Thanks to Jérôme Roussel in France for giving me 1.5 metres of metal clip strips, to replace the 1.5 metres of my originals that rusted to FeO2 powder in the 5 years these seals from 1975 were on the car, and the car on the road.  These will all be de-rusted and electroplated in Cadmium and painted, then reinserted into the seals.

1807050569_DoorSealmetal.thumb.jpeg.f02c


As I noted, the seals were bought by the previous owner in 1975 at Jay's British and European Motors - I still have the invoice - and they were on this daily driven car for five years.  After that the car was in a garage and so the rubber is truly in excellent condition.  Three hours or maybe a bit more with Flitz polish turned them from a rusted, dirty mess into what appears to be nearly new and very soft and supple rubber!


After a good wash with a nail brush, the cleaned seal was treated with this Würth stuff and wow did it make a huge difference!

810218251_Rubbertreatment.thumb.jpeg.dfa


The door-mounted striker plates are not as good looking as they should be so they too will be replated when the seal clips are done.

570149227_StrikerPlates.thumb.jpeg.8efc0


#58 404KF2

404KF2
  • Member

  • 19,120 posts
  • Joined: October 99

Posted 06 September 2021 - 06:06

I had difficulty trying to bleed the brakes (no pedal and lots of froth) and so when the engine's out, I'll troubleshoot it all and verify all my manufactured lines.  Everything but the brake booster was new or rebuilt.  All rubber lines were new.  Well....the rear proportioning valve is not rebuilt (they're impossible to find) so it could be part of it.  I hope not.


On August 31, 2021 I got a rebuilt Hydrovac booster from Todd Langton, Le Club 404's USA representative.  I'm the Canadian representative of the club but Todd has more stuff!  He bought this apparently unused NOS unit, which nevertheless had surface rust, several years ago, and had it rebuilt by White Post Restorations in Virginia in 2018.

384939387_RebuiltHydrovac.thumb.jpeg.89e


The unit in my car was NOS in 1993 when I bought it, probably made around 1970, never rebuilt, but mounted on the car with brake fluid and all for 25 years.  I was pretty silly to think it would work after all these years.


When the engine is out in October I will remove the Hydrovac unit I bought in 1993 and install this one, and (I hope) successfully bleed the system before reinstalling the engine.


#59 barrykm

barrykm
  • Member

  • 808 posts
  • Joined: February 02

Posted 08 September 2021 - 03:29

What a staggering amount of work and attention to detail. 


Hats-off to you sir.


Advertisement

#60 TennisUK

TennisUK
  • Member

  • 21,473 posts
  • Joined: March 06

Posted 08 September 2021 - 05:08

When do you anticipate it be being drivable?

Oh, and chapeau for the whole thing!

Edited by TennisUK, 08 September 2021 - 05:08.


#61 404KF2

404KF2
  • Member

  • 19,120 posts
  • Joined: October 99

Posted 08 September 2021 - 05:22

Thanks guys!


If things go well, maybe by the end of 2021.  For sure by Spring 2022!


The minor setbacks were a pain but that's to be expected.